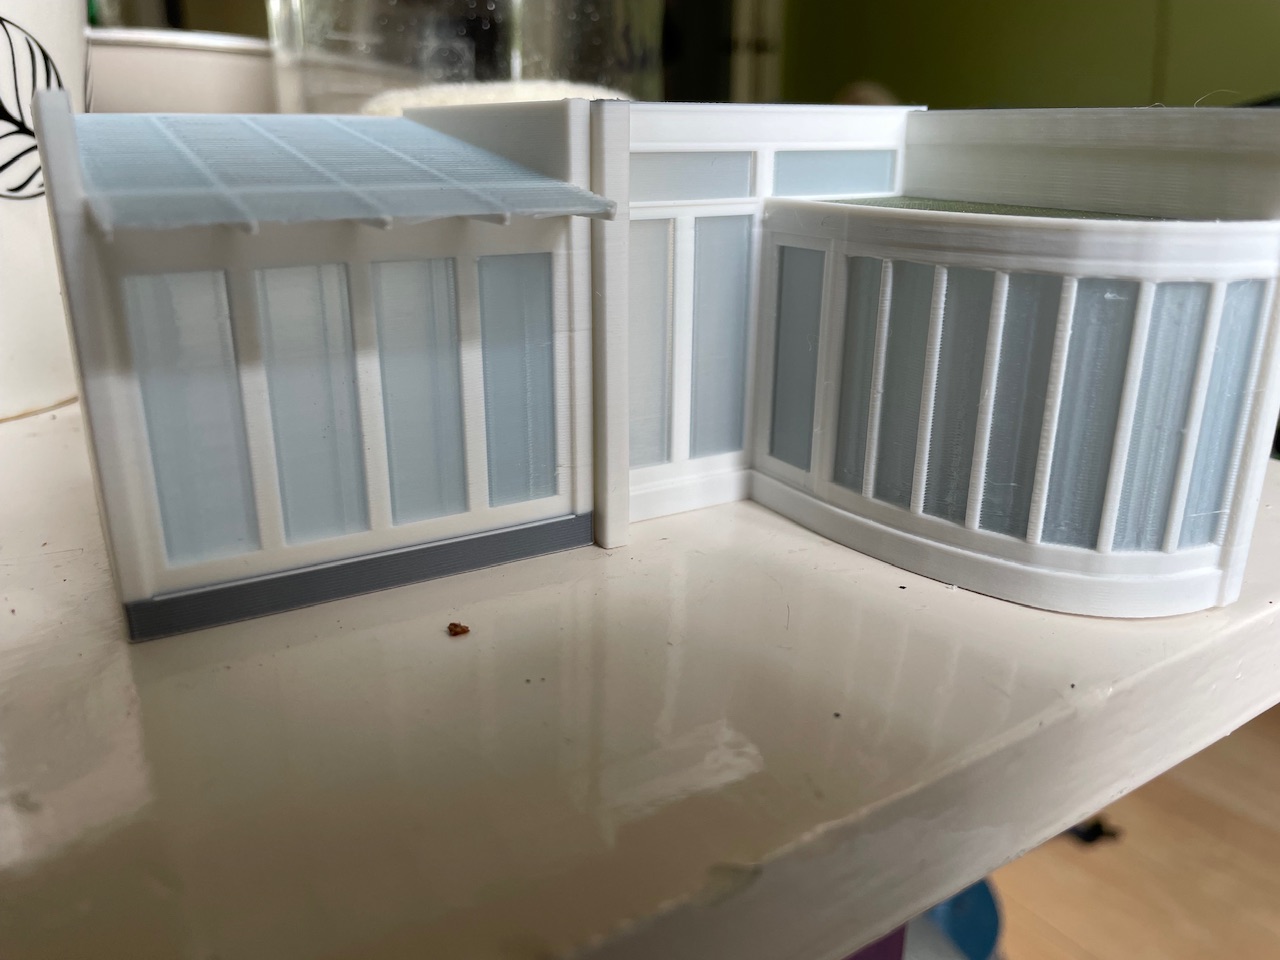
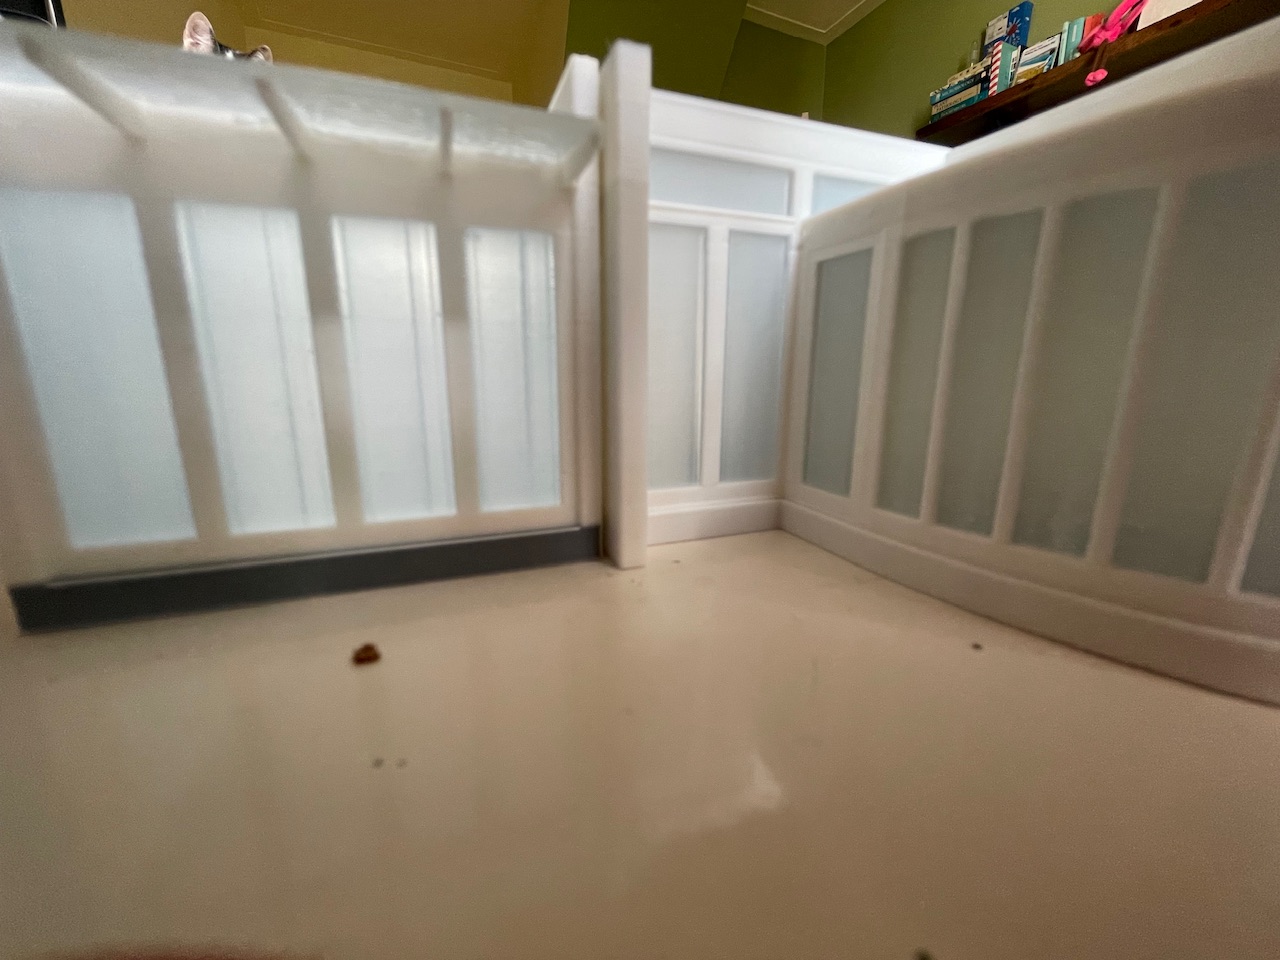
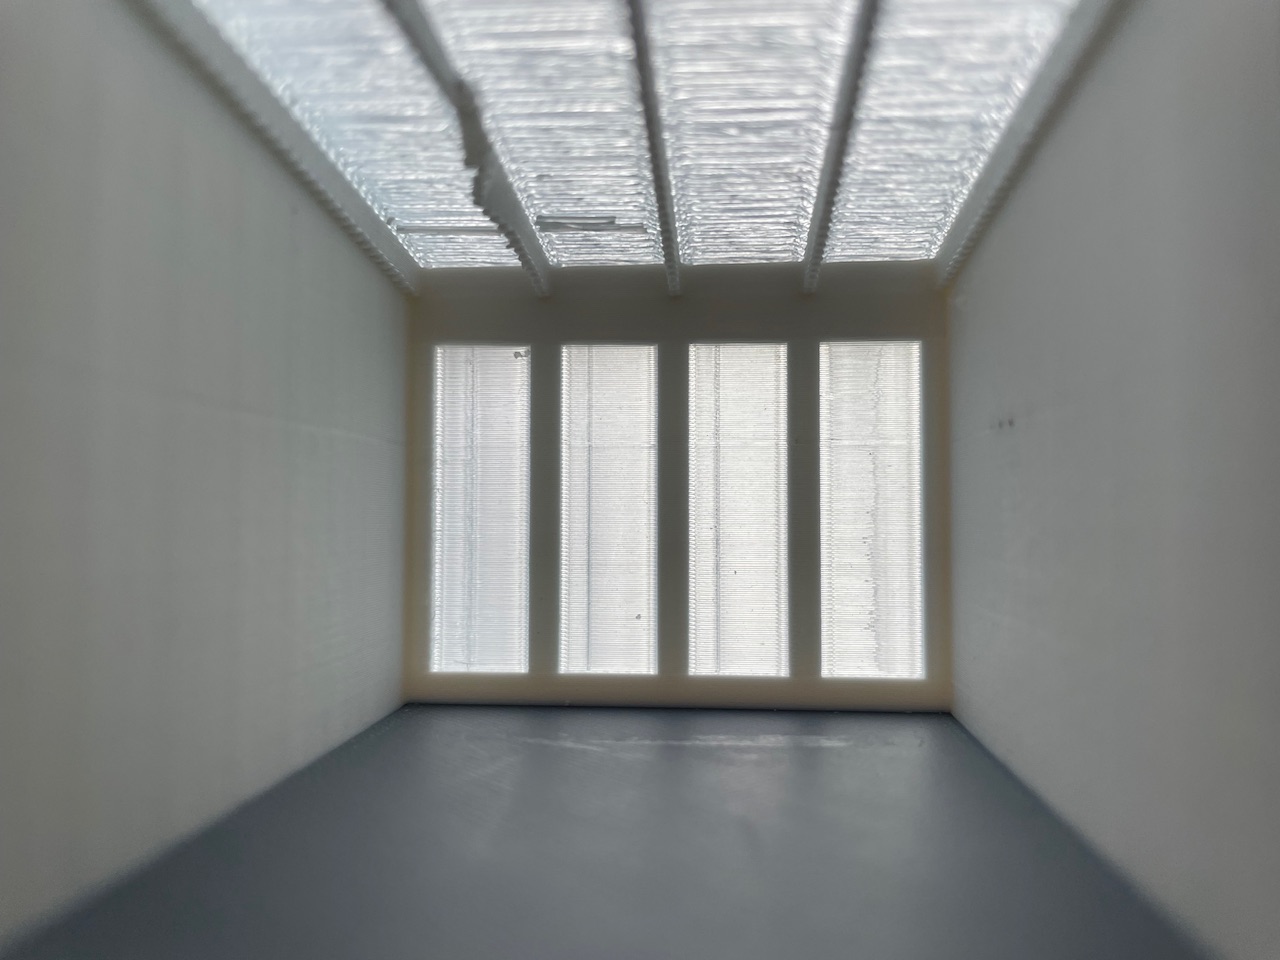
In navolging van de miniatuur van onze uitbouw nu ook die van de buren geprint.
1 Like
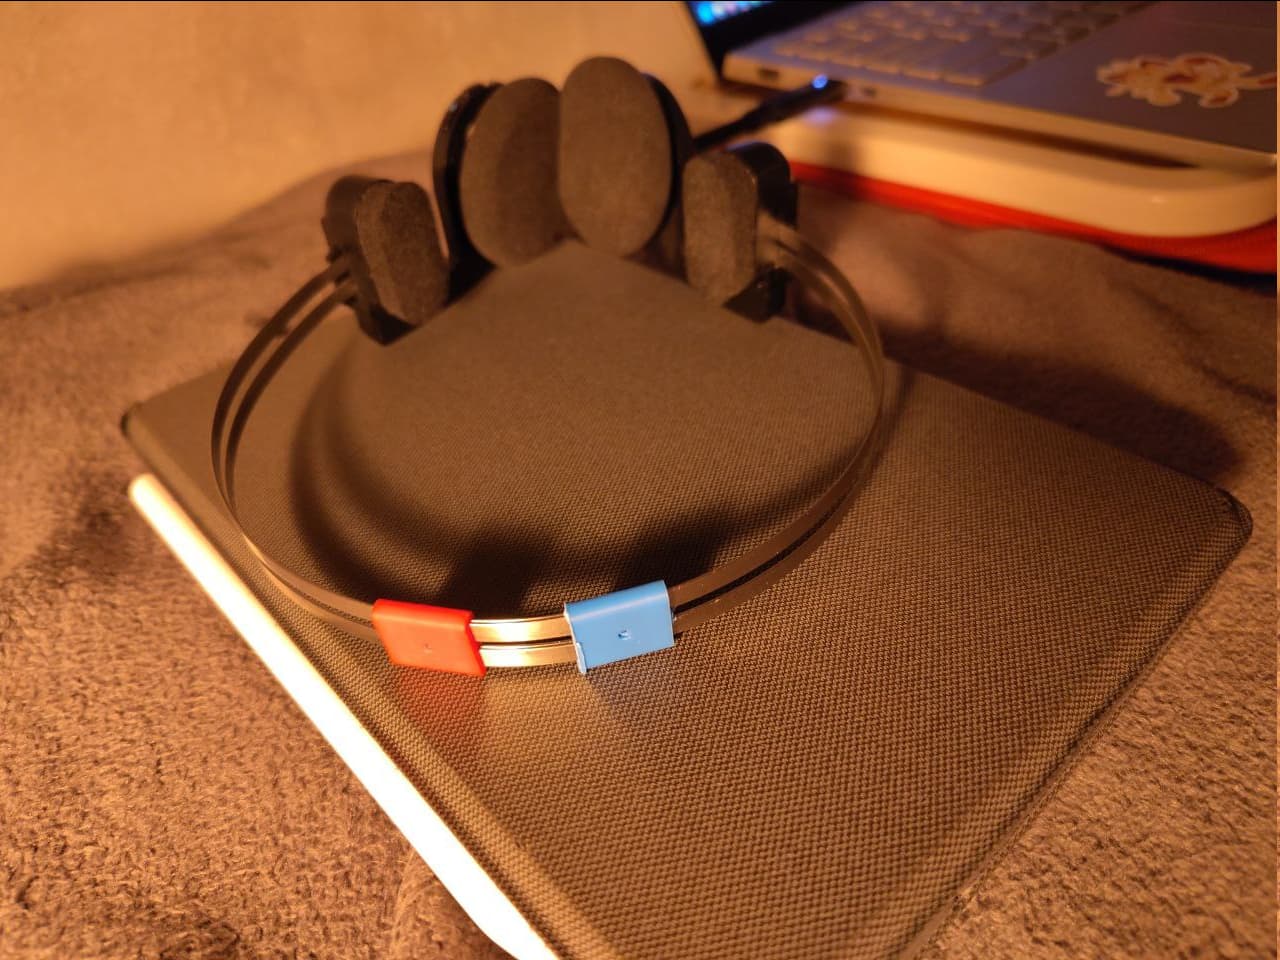
Deze week heb ik v1 van mijn externe Framework 13 scherm gemaakt:
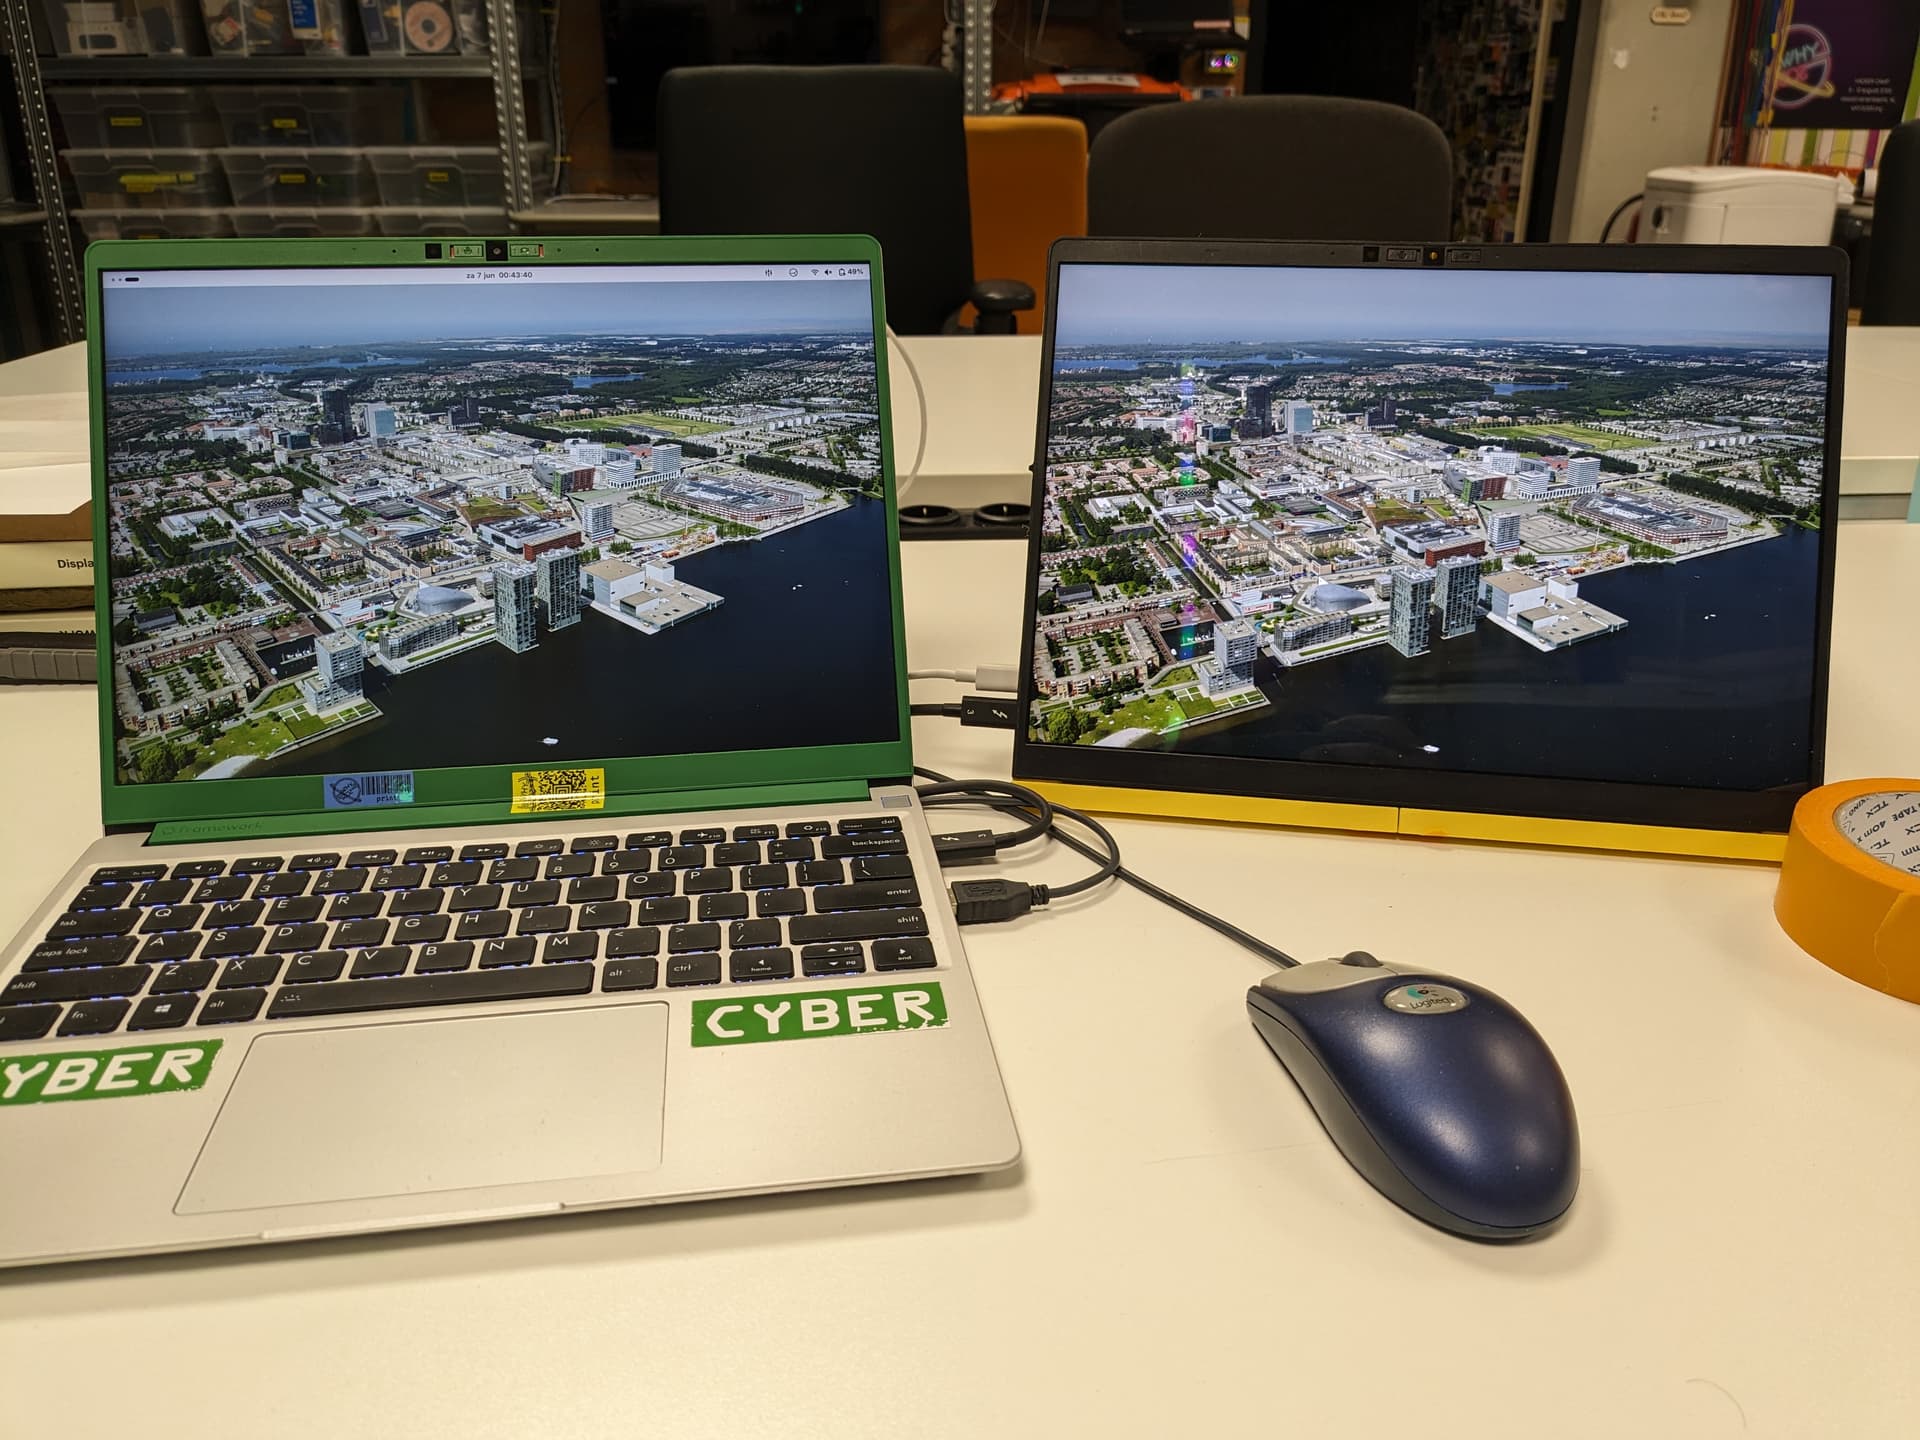
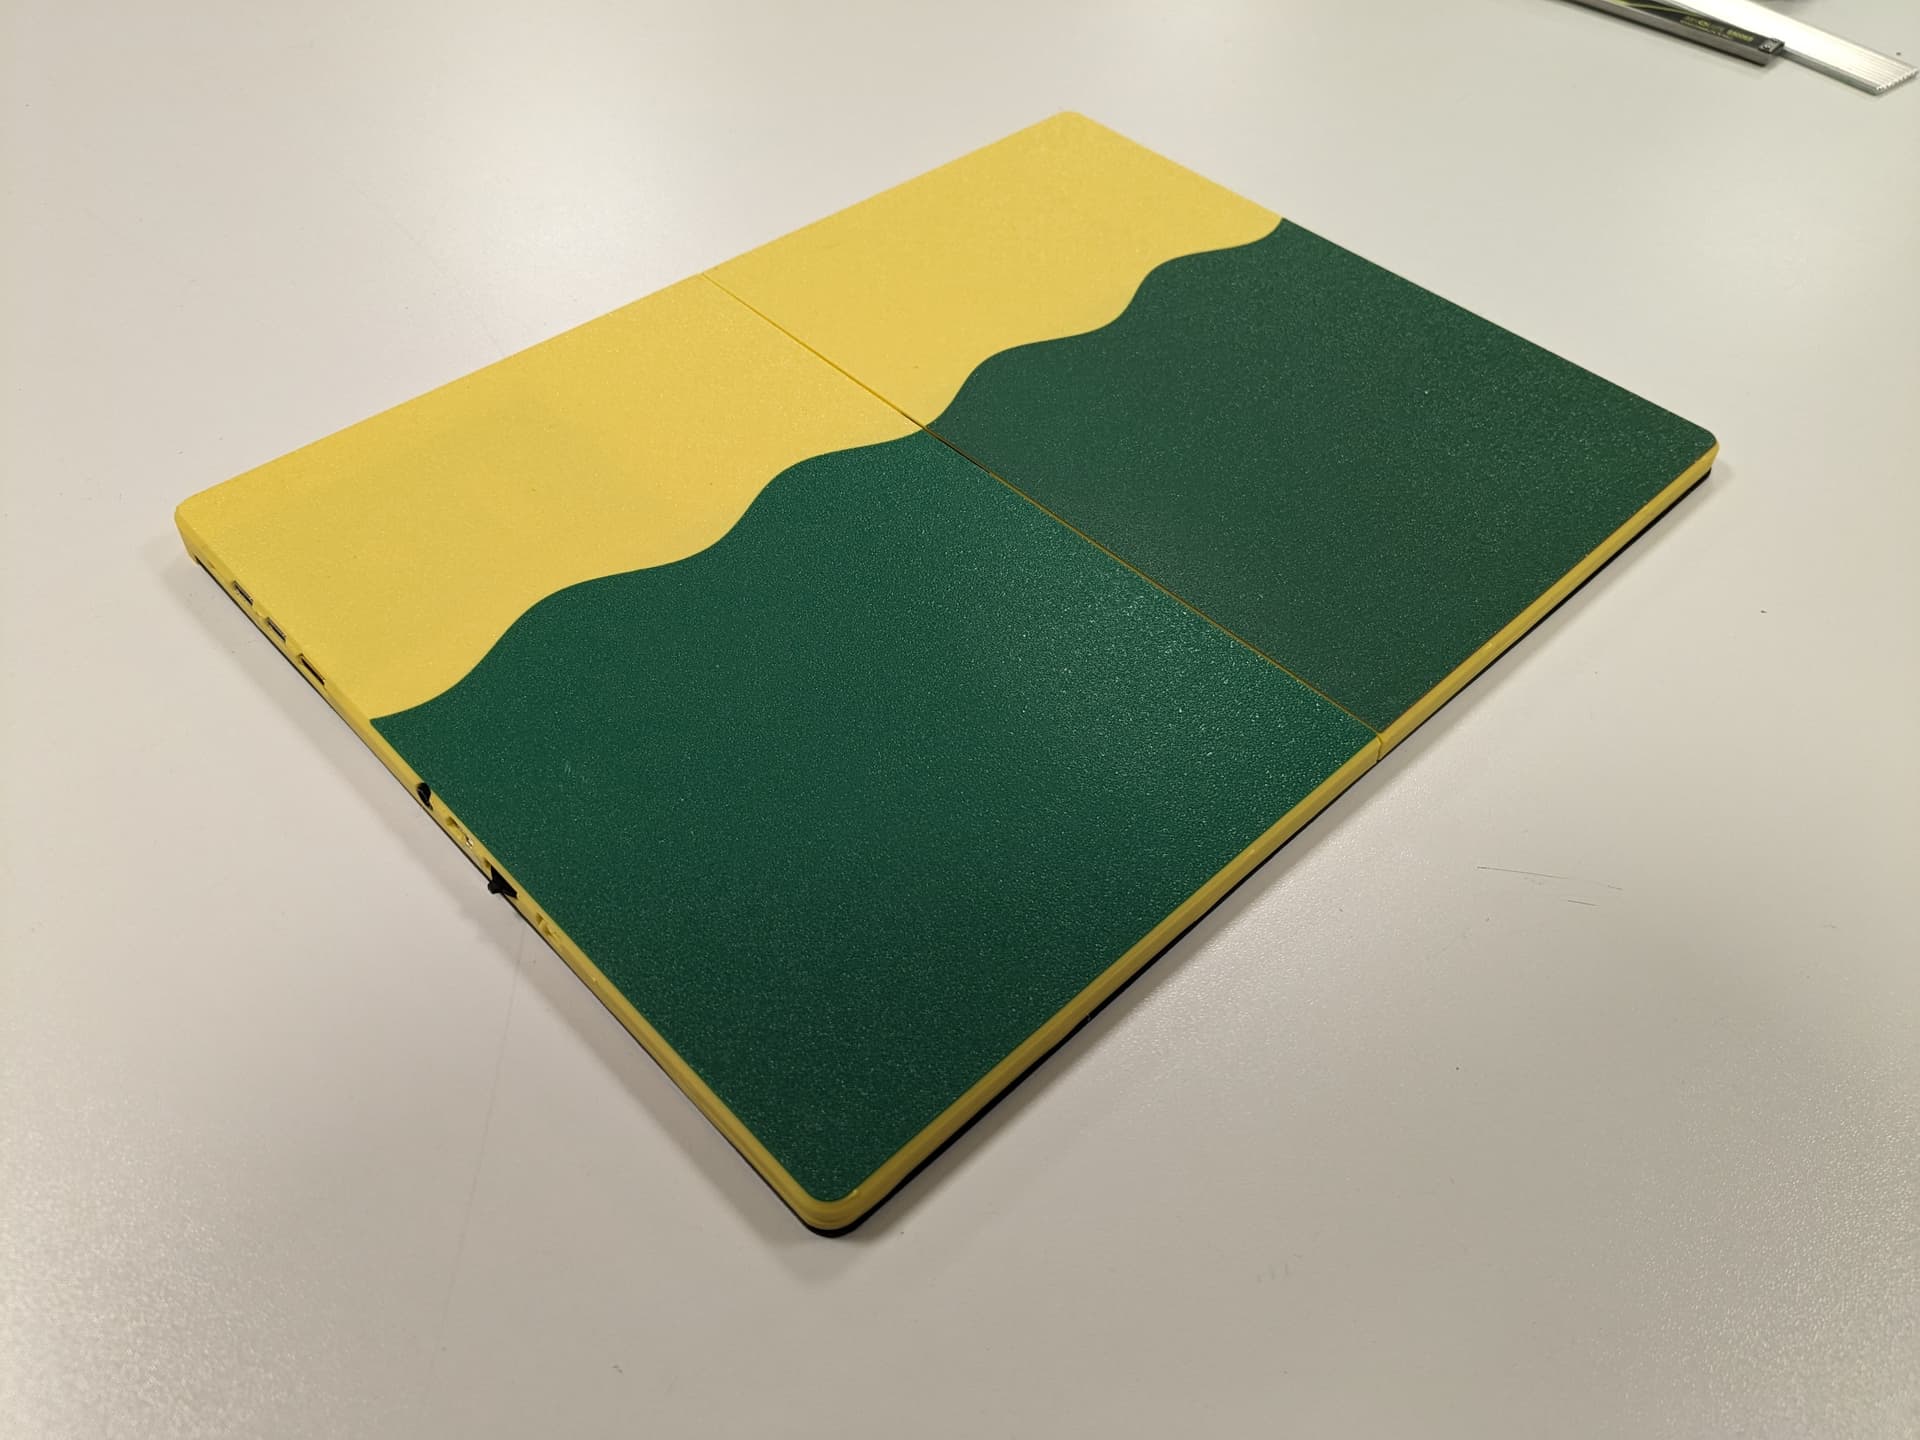
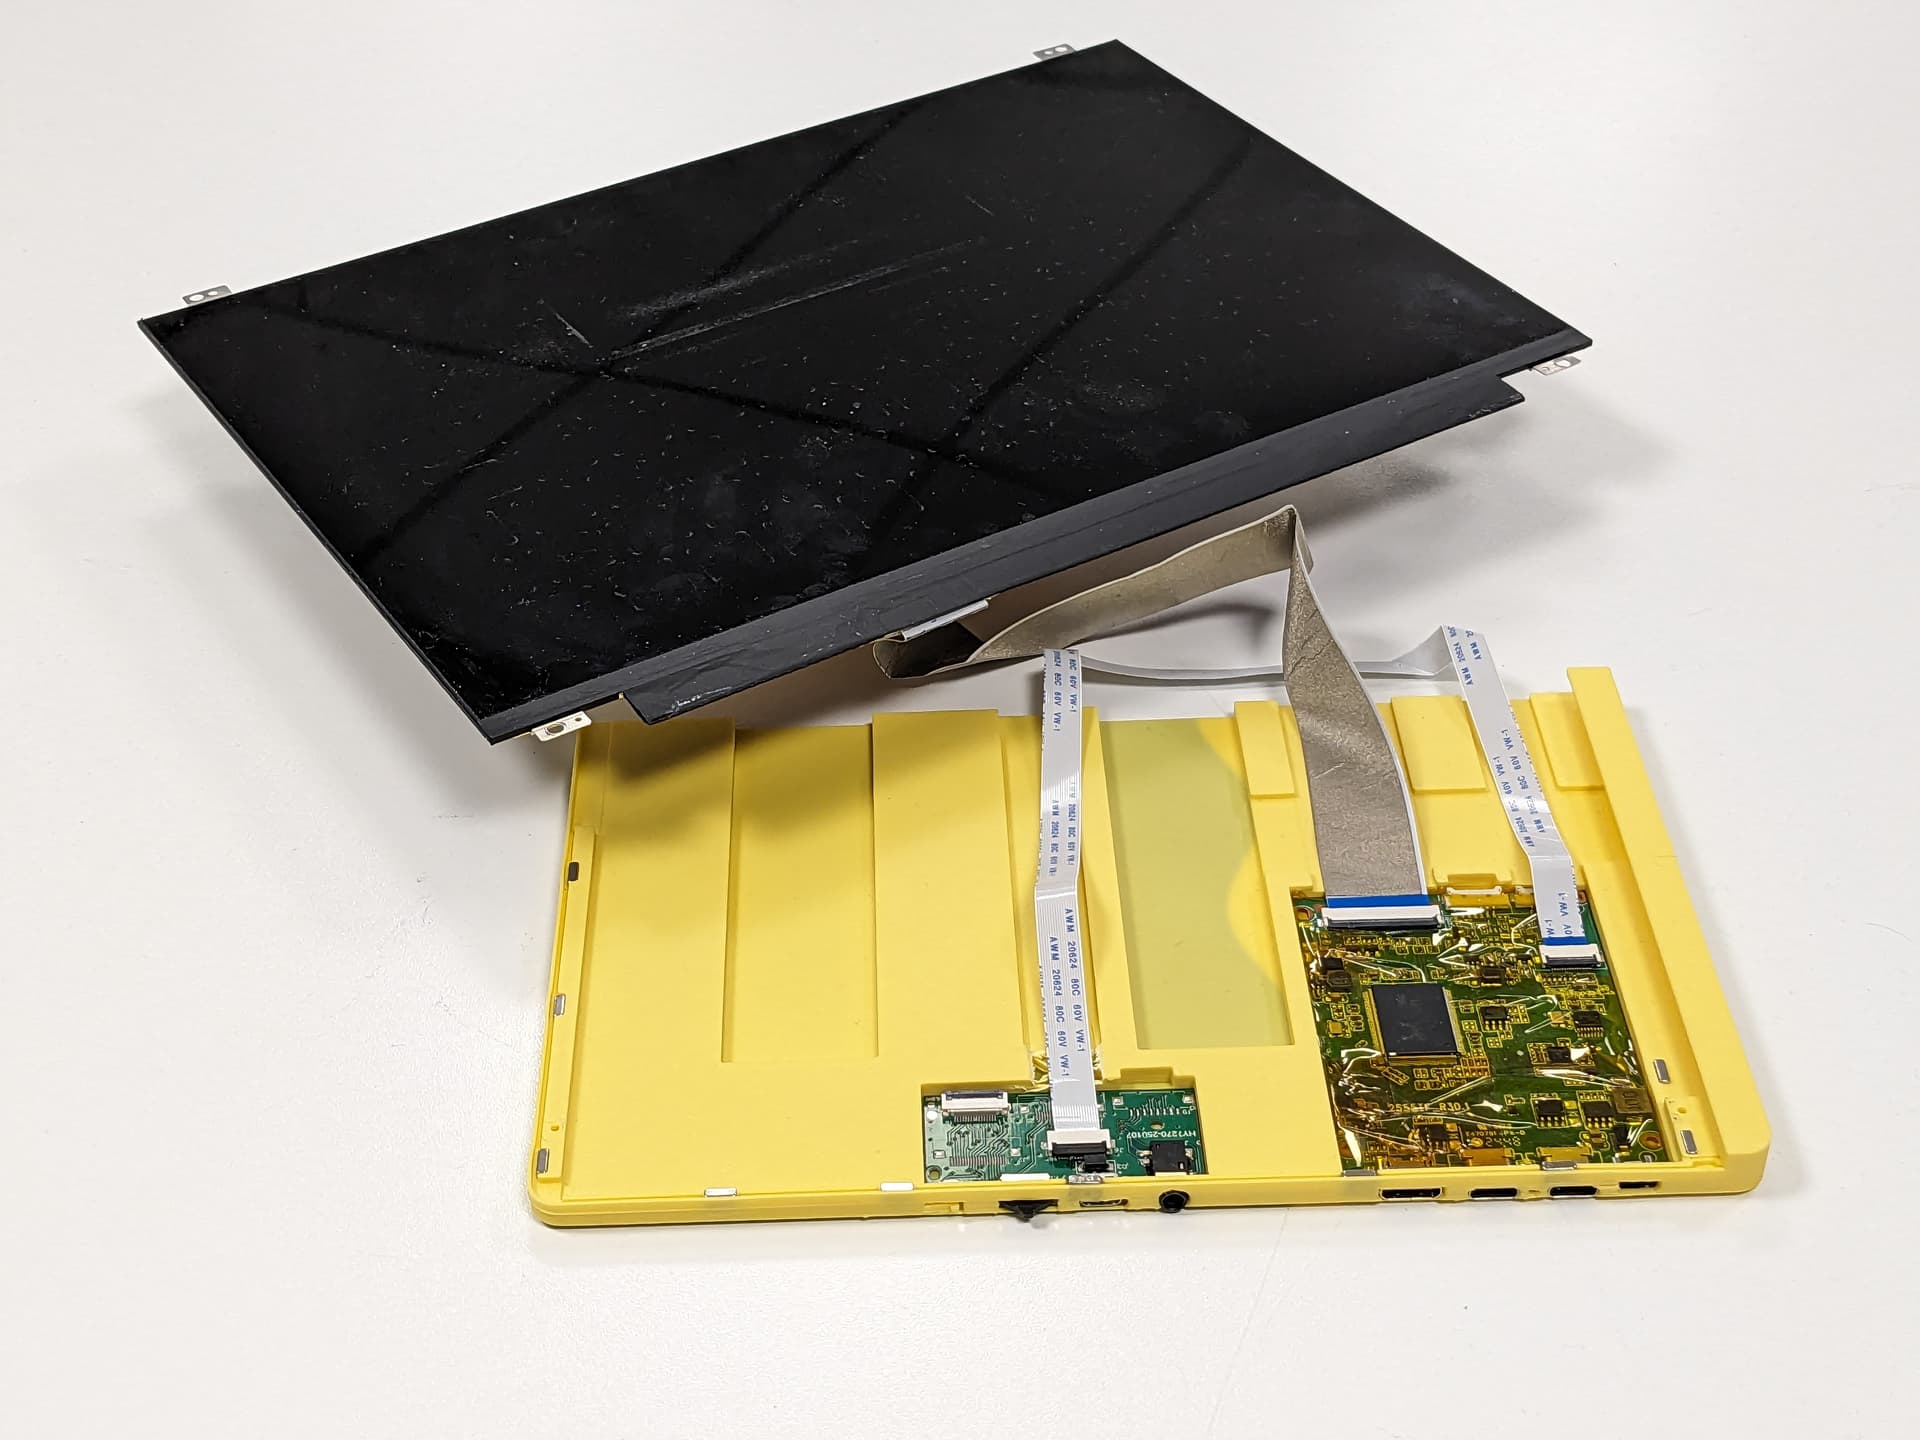
Meer details: External display re-using the framework panel and bezel - Creators & Developers - Framework Community
6 Likes
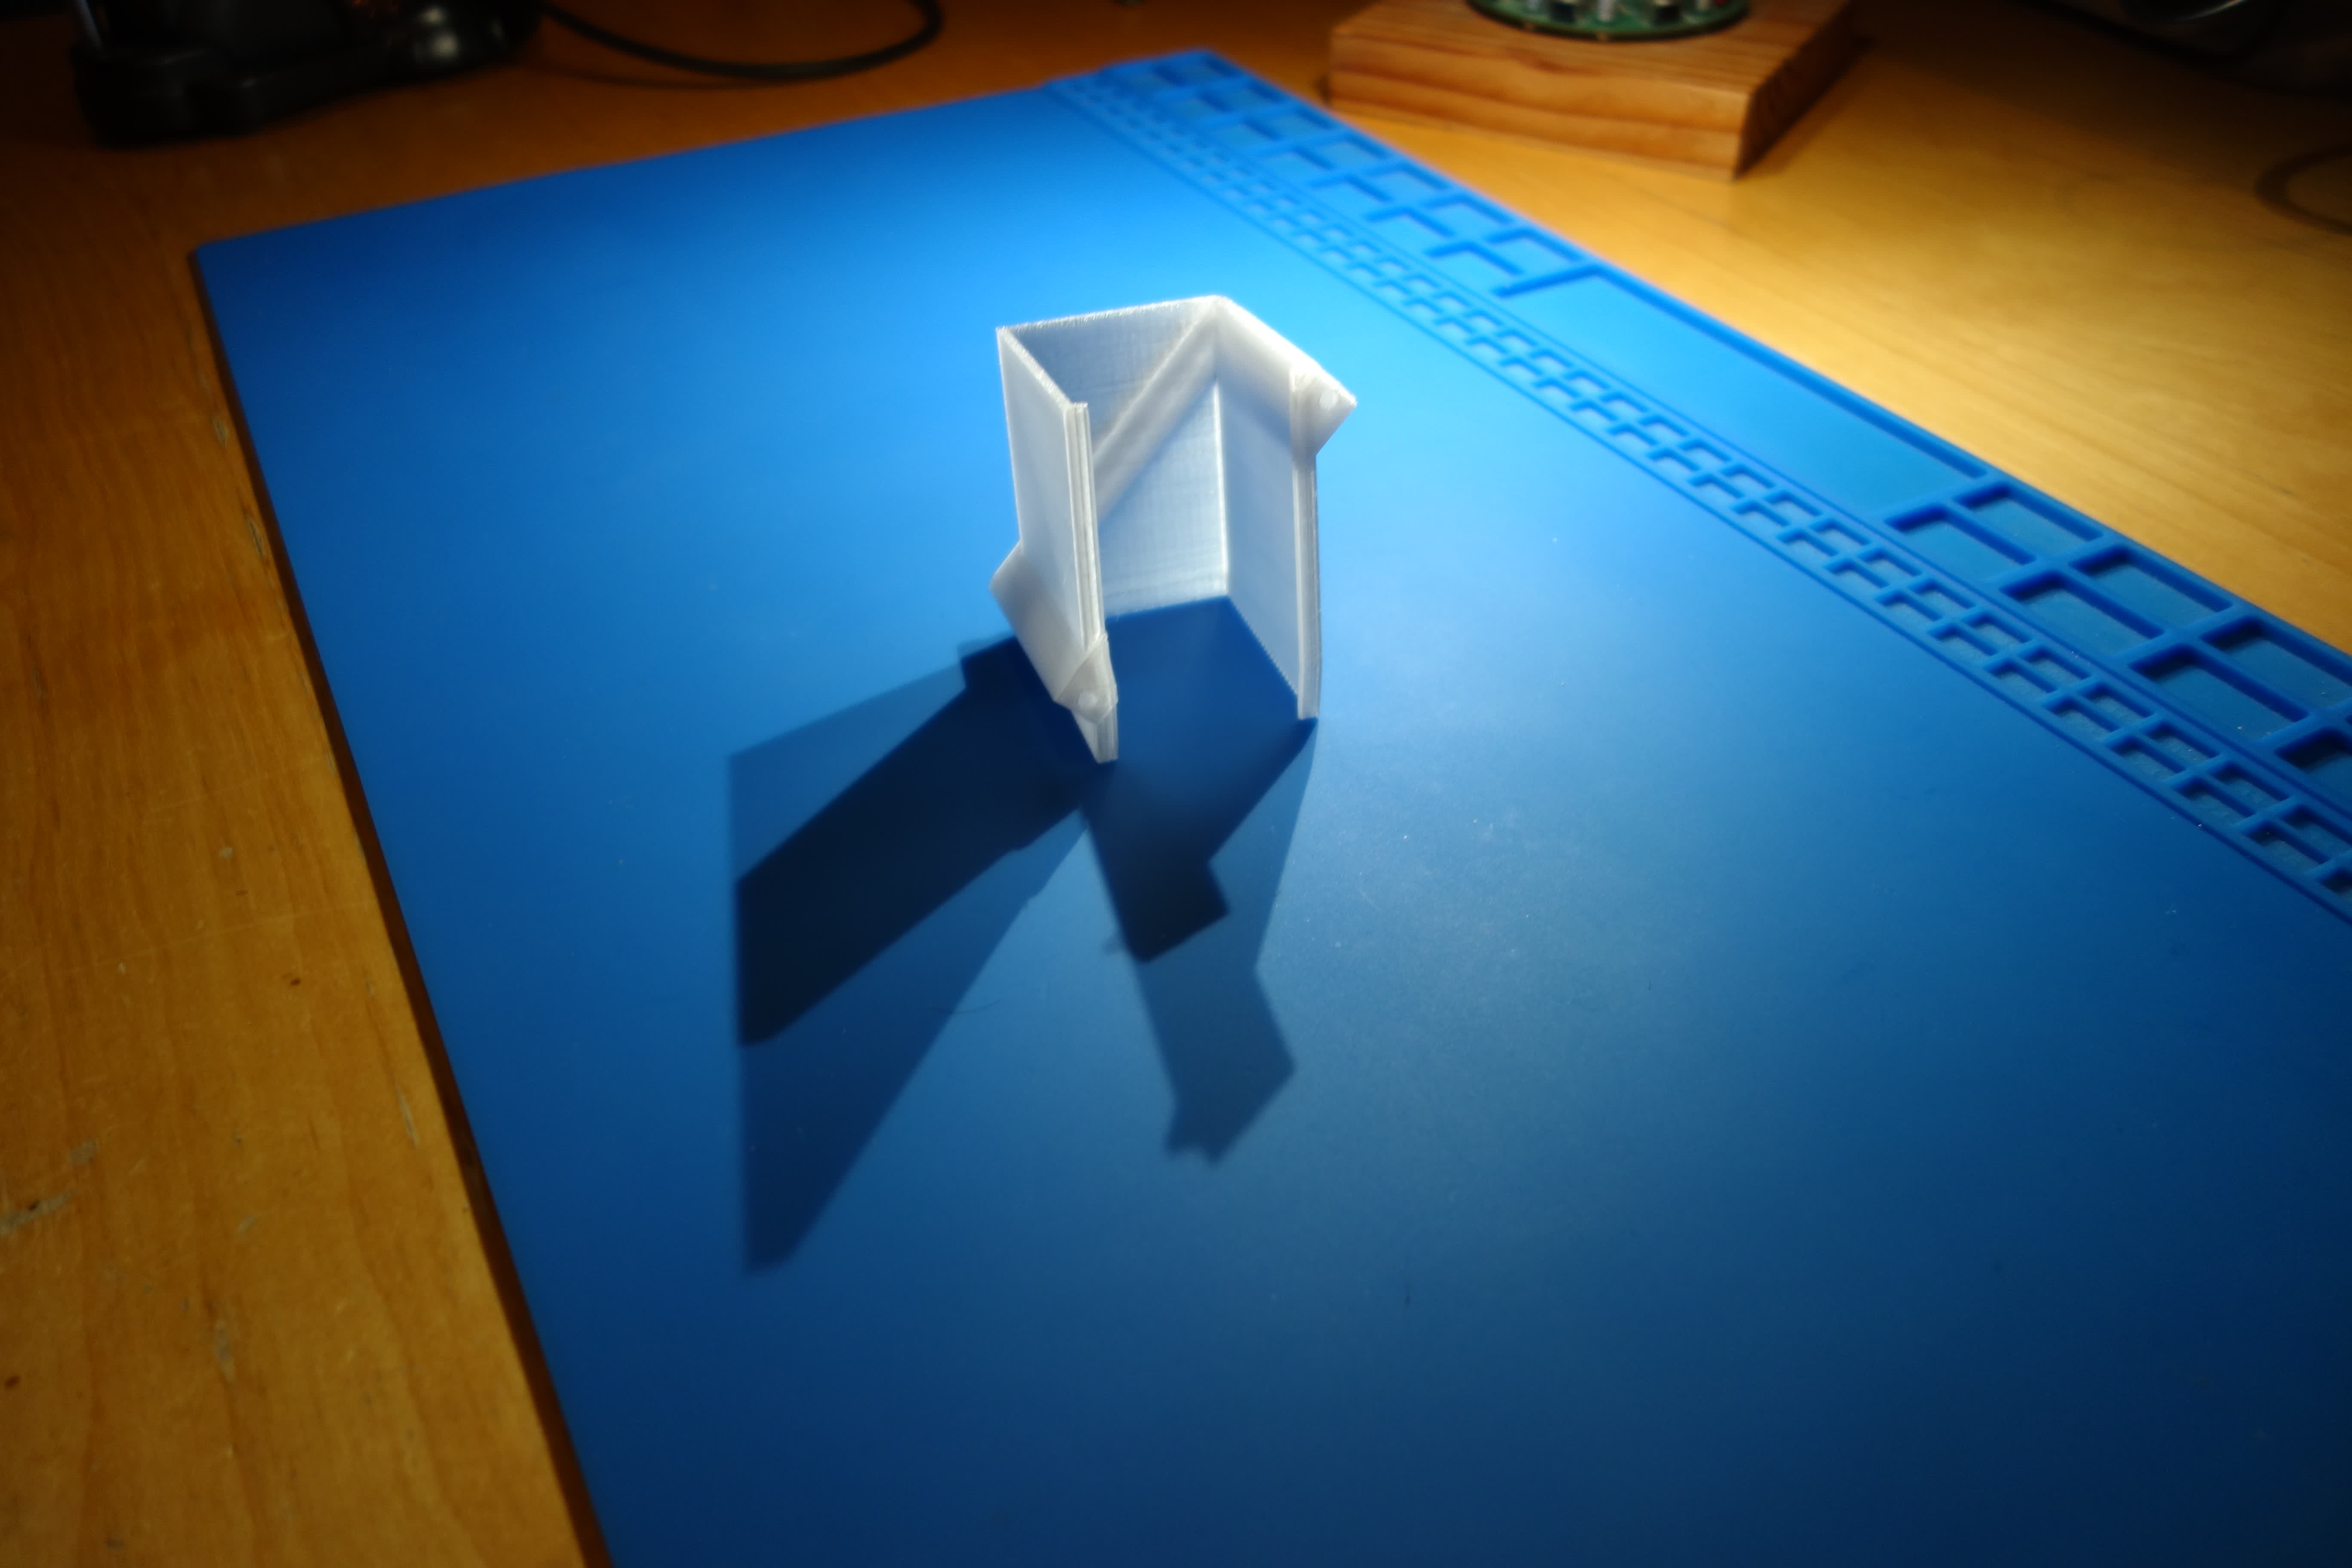
Wij moeten elke maand of twee ongeveer het doucheputje even loshalen en de haren verwijderen. Dat is wat gedoe, dus heb ik een ‘sleutel’ gemodelleerd om het allemaal wat makkelijker te maken.
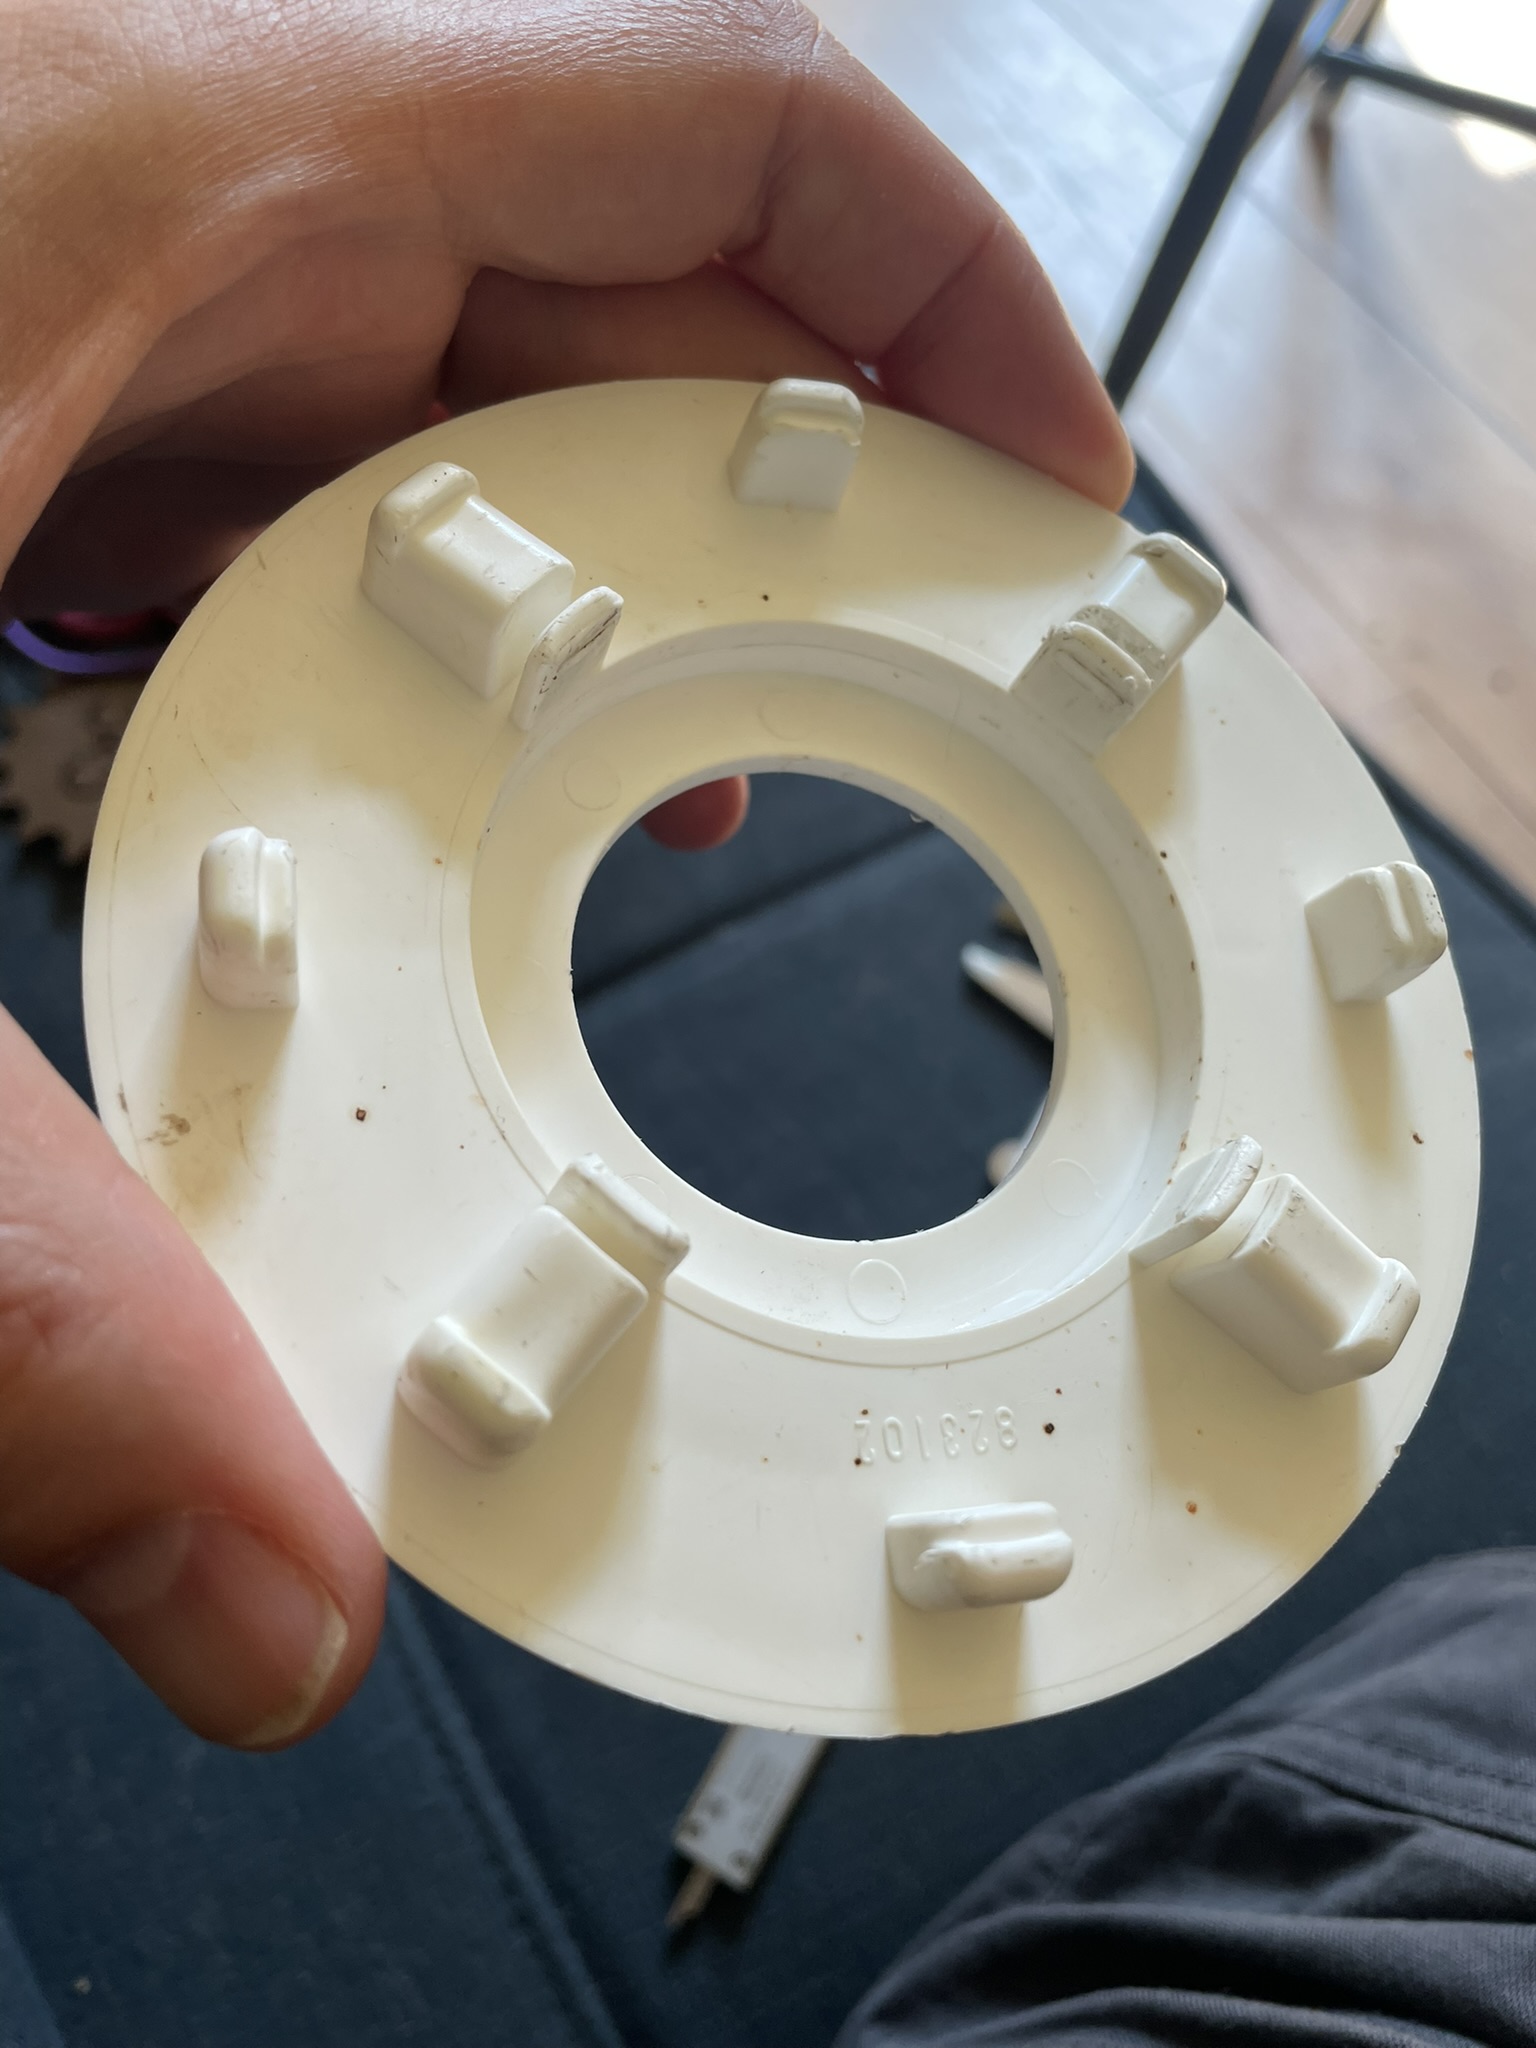
Doucheputje in kwestie.
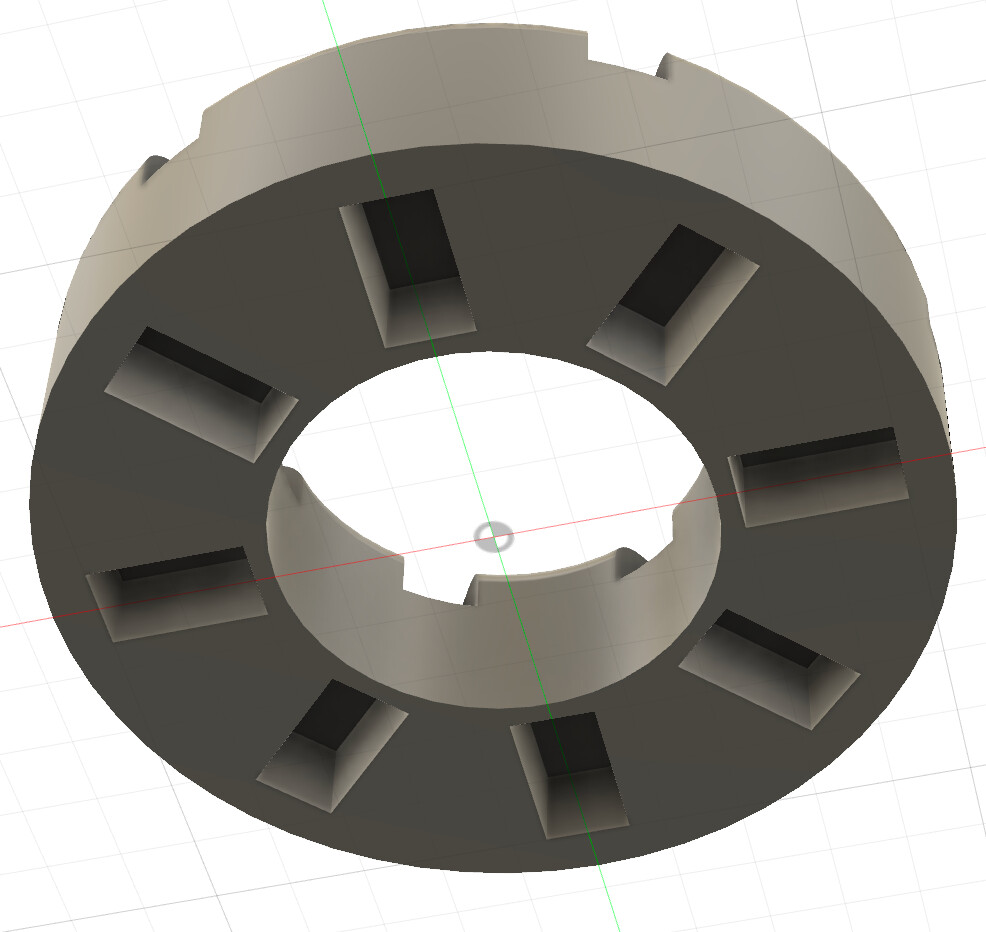
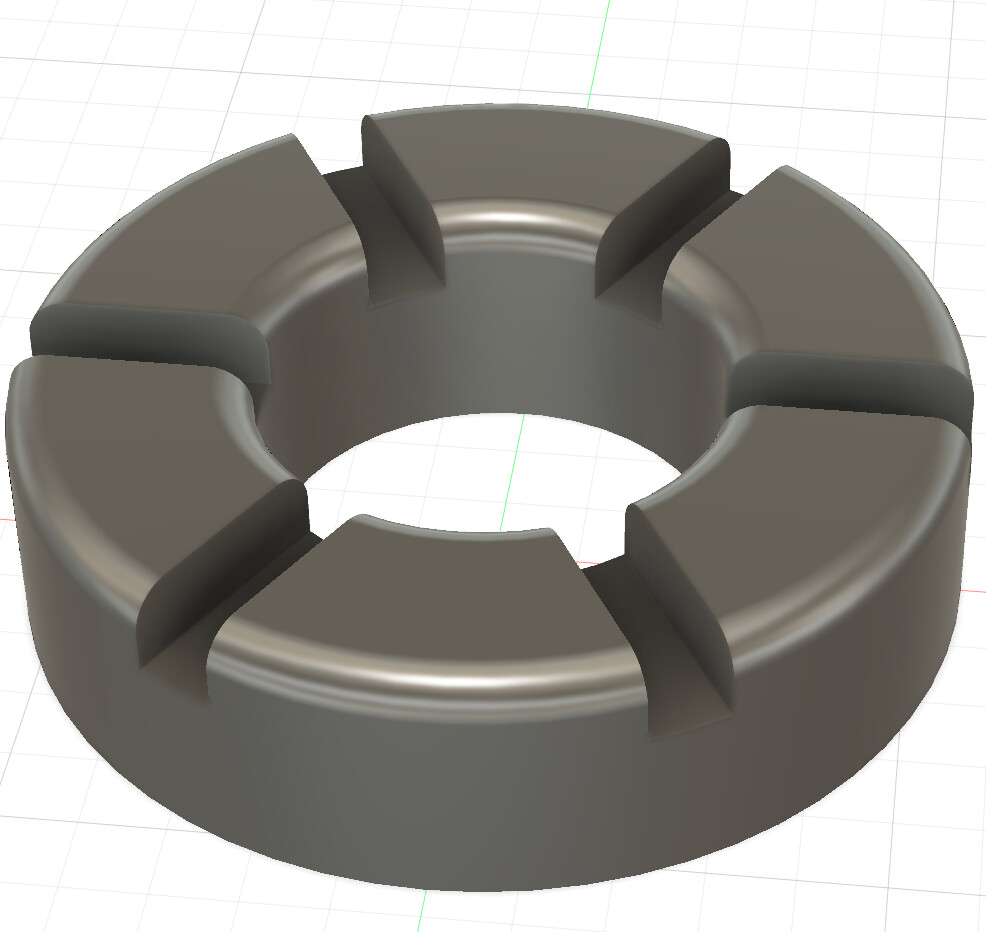
Onderin 8 gaten die precies op het doucheputje passen. Bovenin een paar sleuven om bv een schroevendraaier in te leggen als hefboom.
1 Like
Maar je moet niet met je kat gaan douchen ![]()
De pixelbox! Het is een heel project geworden en ik ga er nog meer informatie rondom optuigen, maar alvast een “teaser”.
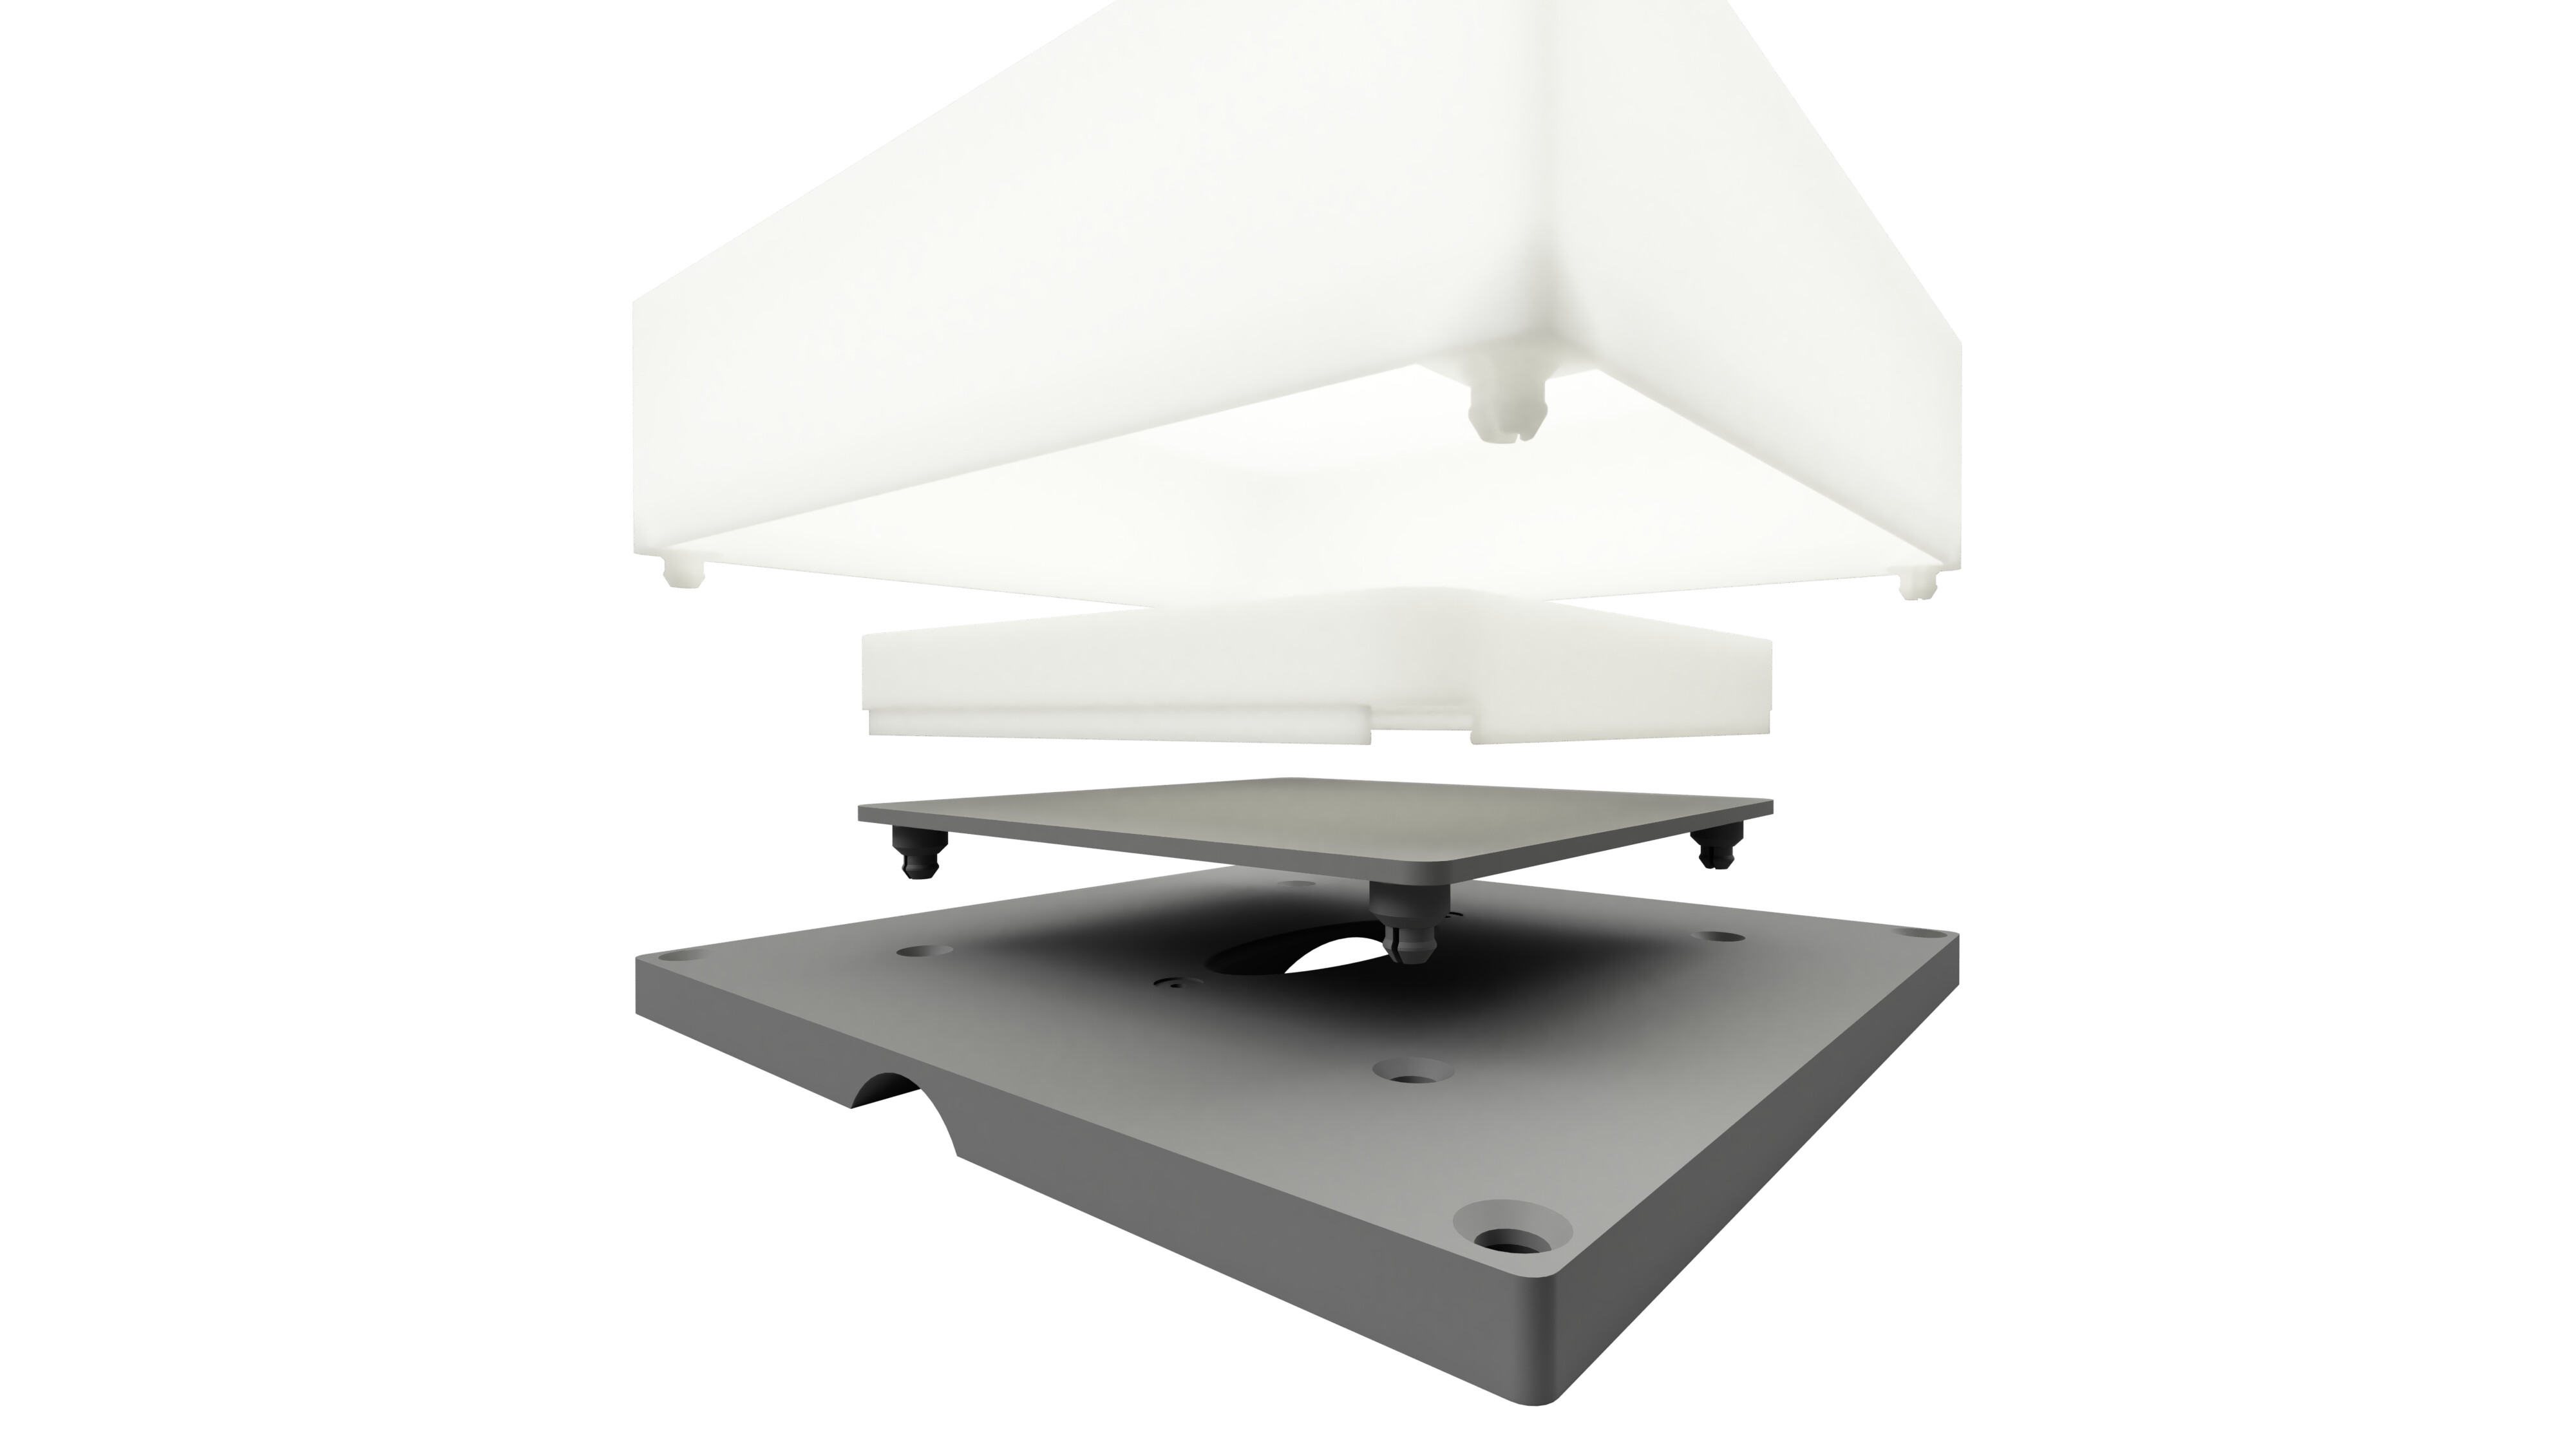
Het is een modulaire base-plate, dat kan worden bevestigd op (bijvoorbeeld) 32mm ø PVC pijp. Door de opening in het midden kan een kabelconnector worden blootgegeven (wij hebben gekozen voor Molex).
De binnenplaat kan worden geassembleerd met LEDs (strip of matrix) naar eigen inzicht.
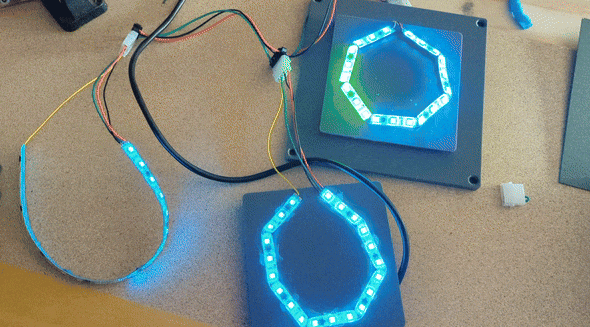
filmpje
Op de binnenplaat kan een diffuser worden geplaatst, om de individuele LEDs minder duidelijk zichtbaar te laten zijn
En de kap kan daar weer over, als uiteindelijke buitenkant.

filmpje
3 Likes
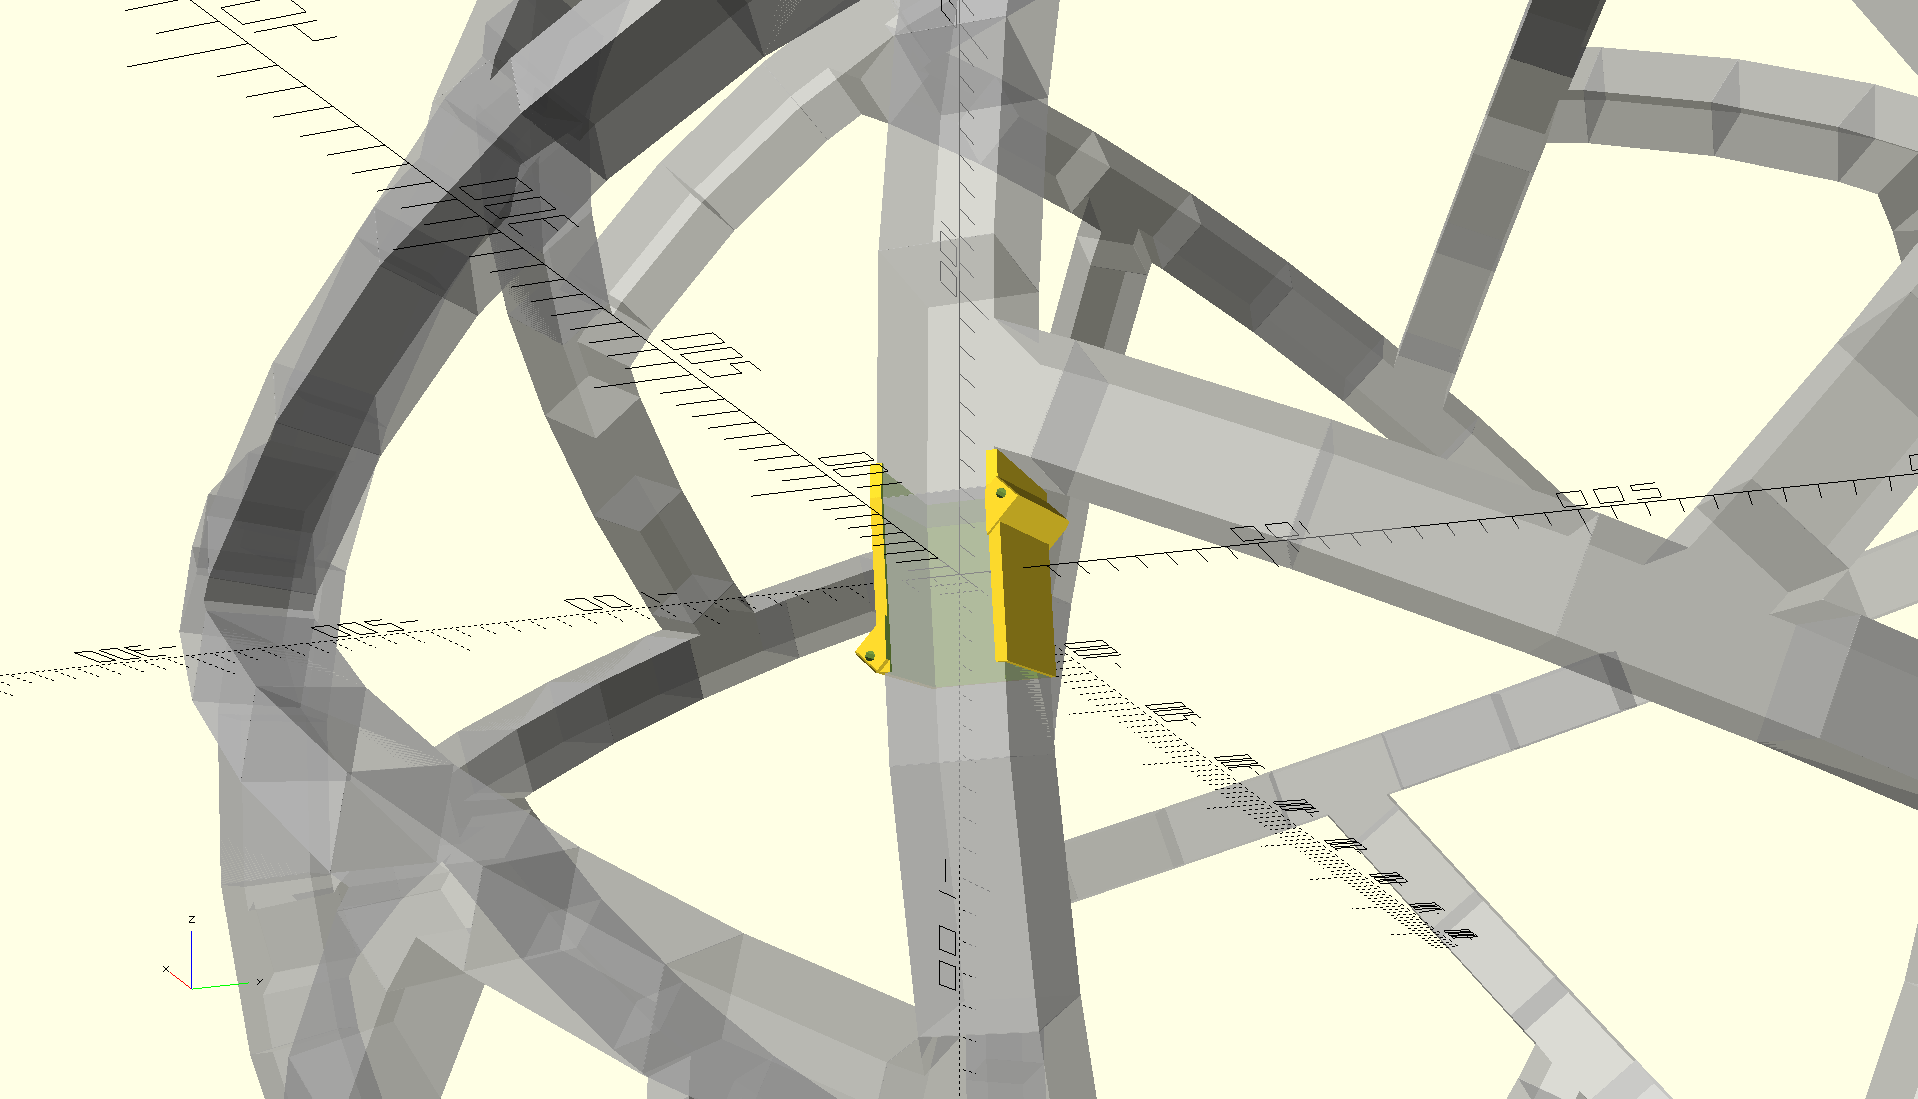
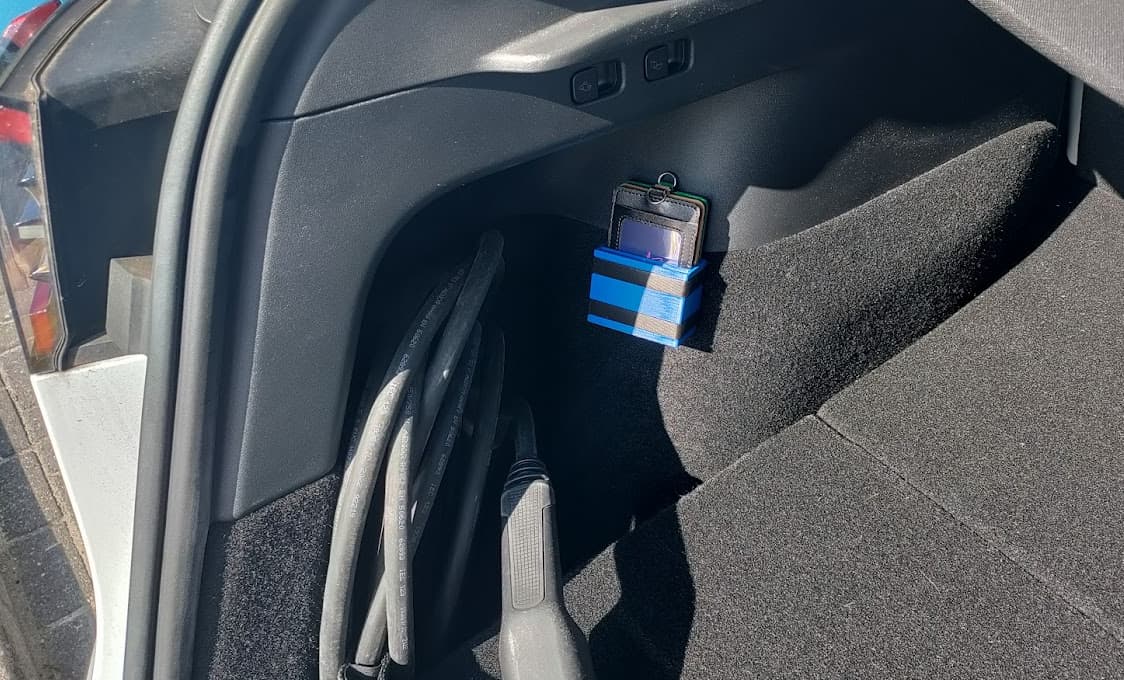
Een nieuwe versie van mijn laadpashouder ontworpen en word nu geprint. De vorige had klittenband erop geplakt, maar dat liet telkens los met warme dagen.
Deze versie gebruik je dubbelzijdig klittenband rondom.
Door het klittenband kan ik het bakje ophangen tegen de stoffen bekleding van de auto in de buurt van de laadkabel.
1 Like
Ik ben niet tevreden. Nog een iteratie. De groeven waar het klittenband in komt nu 1 mm diep in plaats van 0.5mm.
En maar gelijk geprint in blauw ASA in de Voron V0, want deze word het. First try.
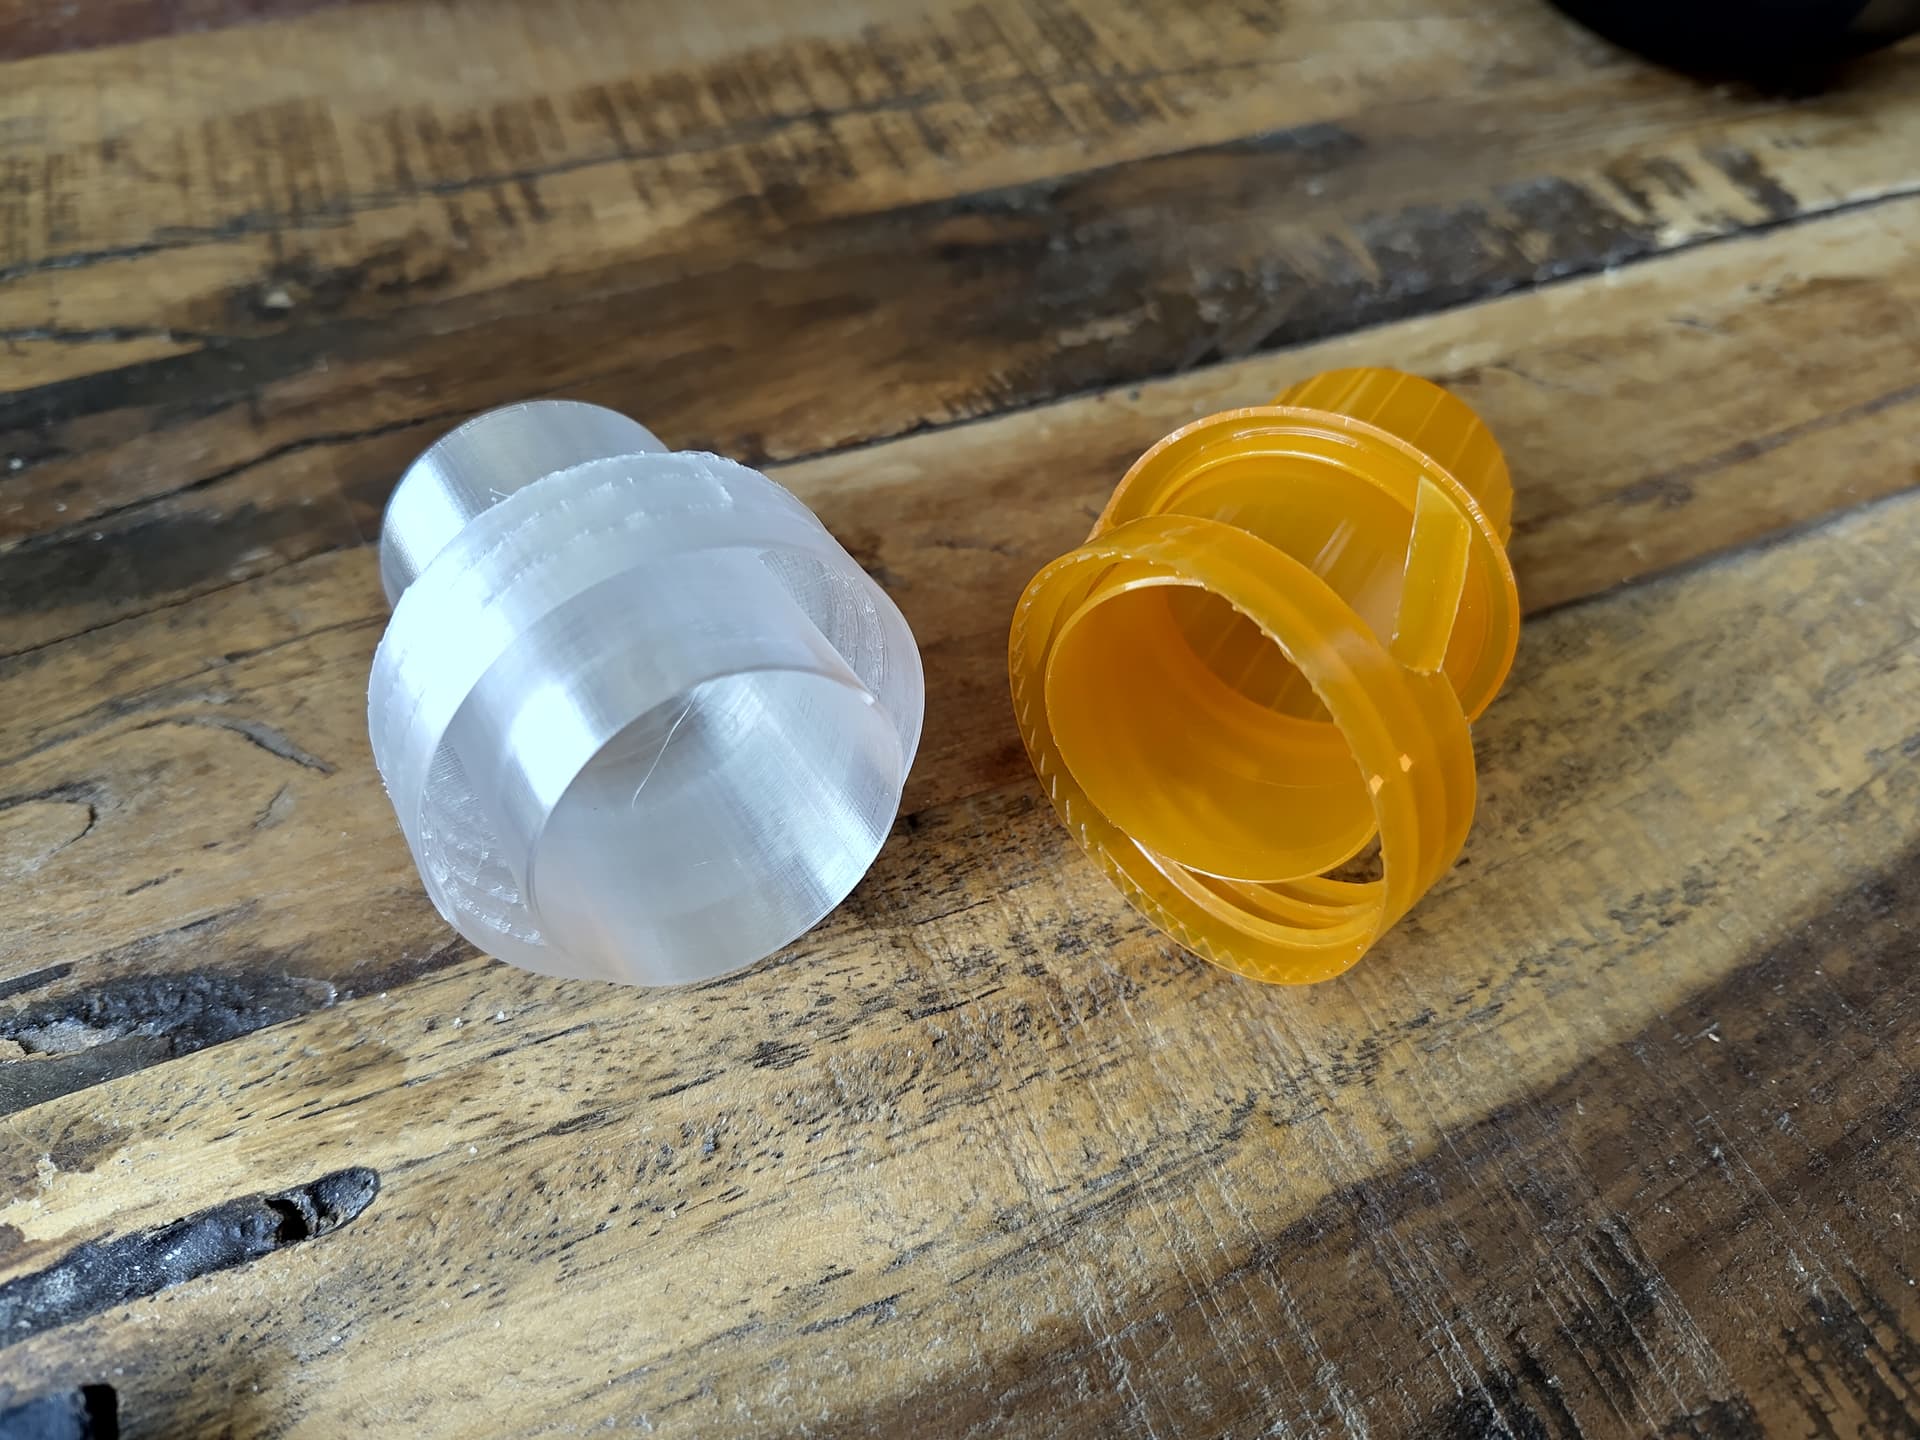
Een fles wasmiddel identificeerde zich heel even als een pot petunias uit een Douglas Adams roman waardoor de dop stuk ging. Nog wel een hoop wasmiddel in de fles dus het dopje overgetekend en geprint in PETG.
2 Likes
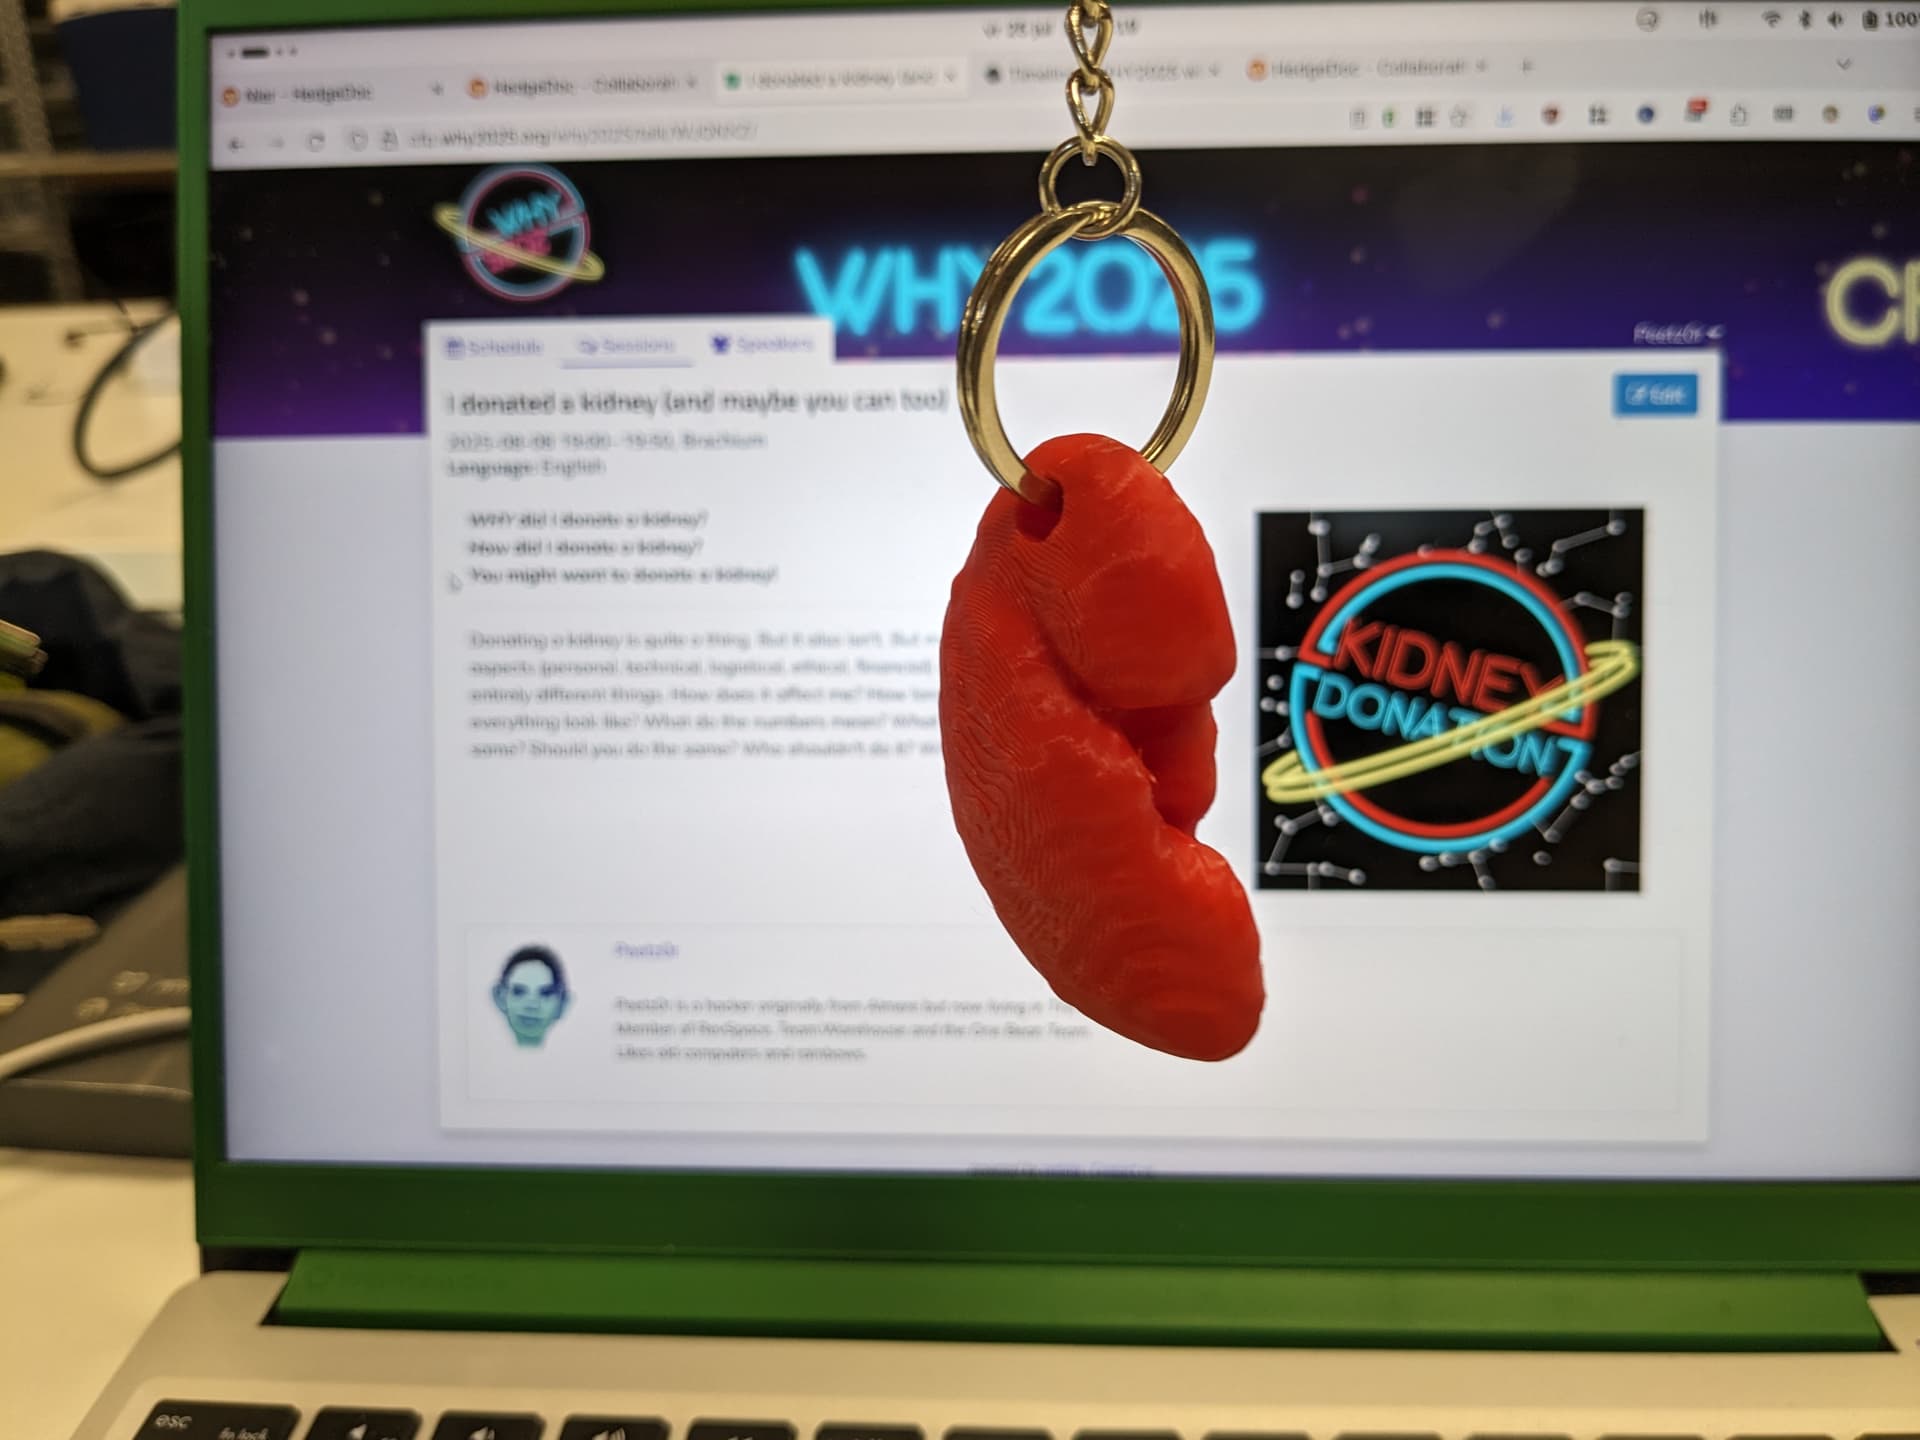
10 stuks van deze, om uit te delen na mijn talk
Ja, dat is de echte, zelf uit een CT scan gepeuterd.
2 Likes
This is a book recommendation. Folks probably know I’m a new participant and I honestly hadn’t done any 3d-printing until we started coming to revspace. My younger child (age ~8-9) is getting a lot out of this book by Eldrid Sequeira.
They are working through the projects roughly step by step, they’re not doing all the steps of the book but it seems to be giving a really good progression of tasks and challenges. The latest was making the dovetail joint – which when it printed I wasn’t sure was going to work.
But from doing the exercises in the book and fiddling with tinkercad, they were today able to look at the printed gliders on the demo shelf and figure out how to make them themselves, run them through the slicer programs (we had both printers to ourselves this afternoon), print them, check them, adjust, and make new gliders.
If you have or know kids who may be interested in learning this and have access to a printer (including at a space) I’d suggest this for kids (who read English) who will have a certain amount of self-directedness to how they deal with problems.
2 Likes
We have two recent projects to show here, one completed yesterday (9 August) and the other today (10 August).
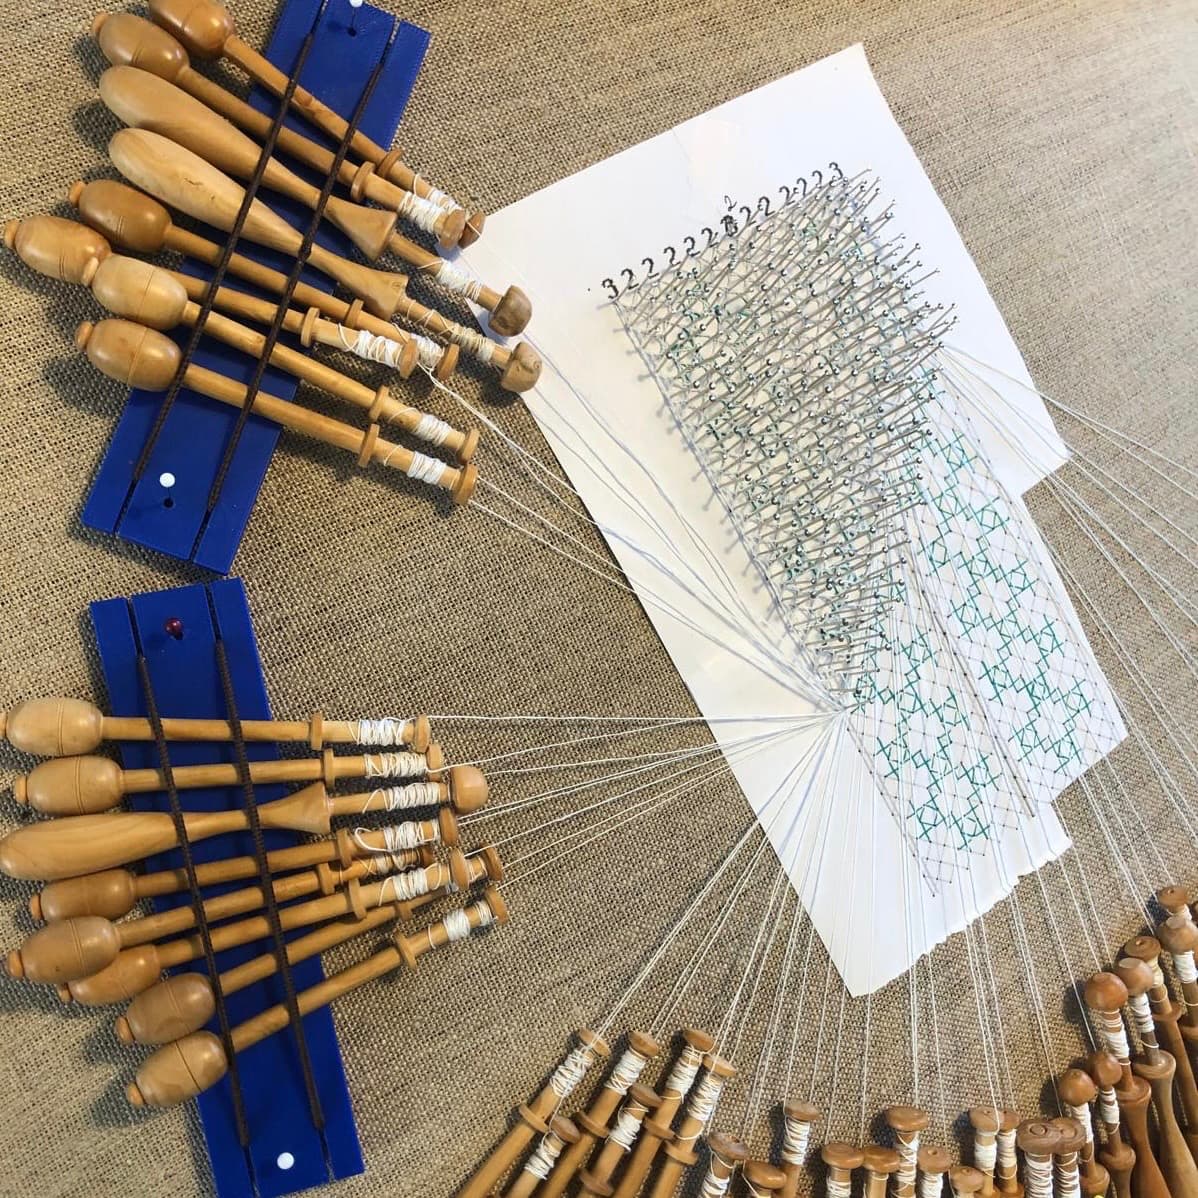
Lace bobbin – bobbin holders
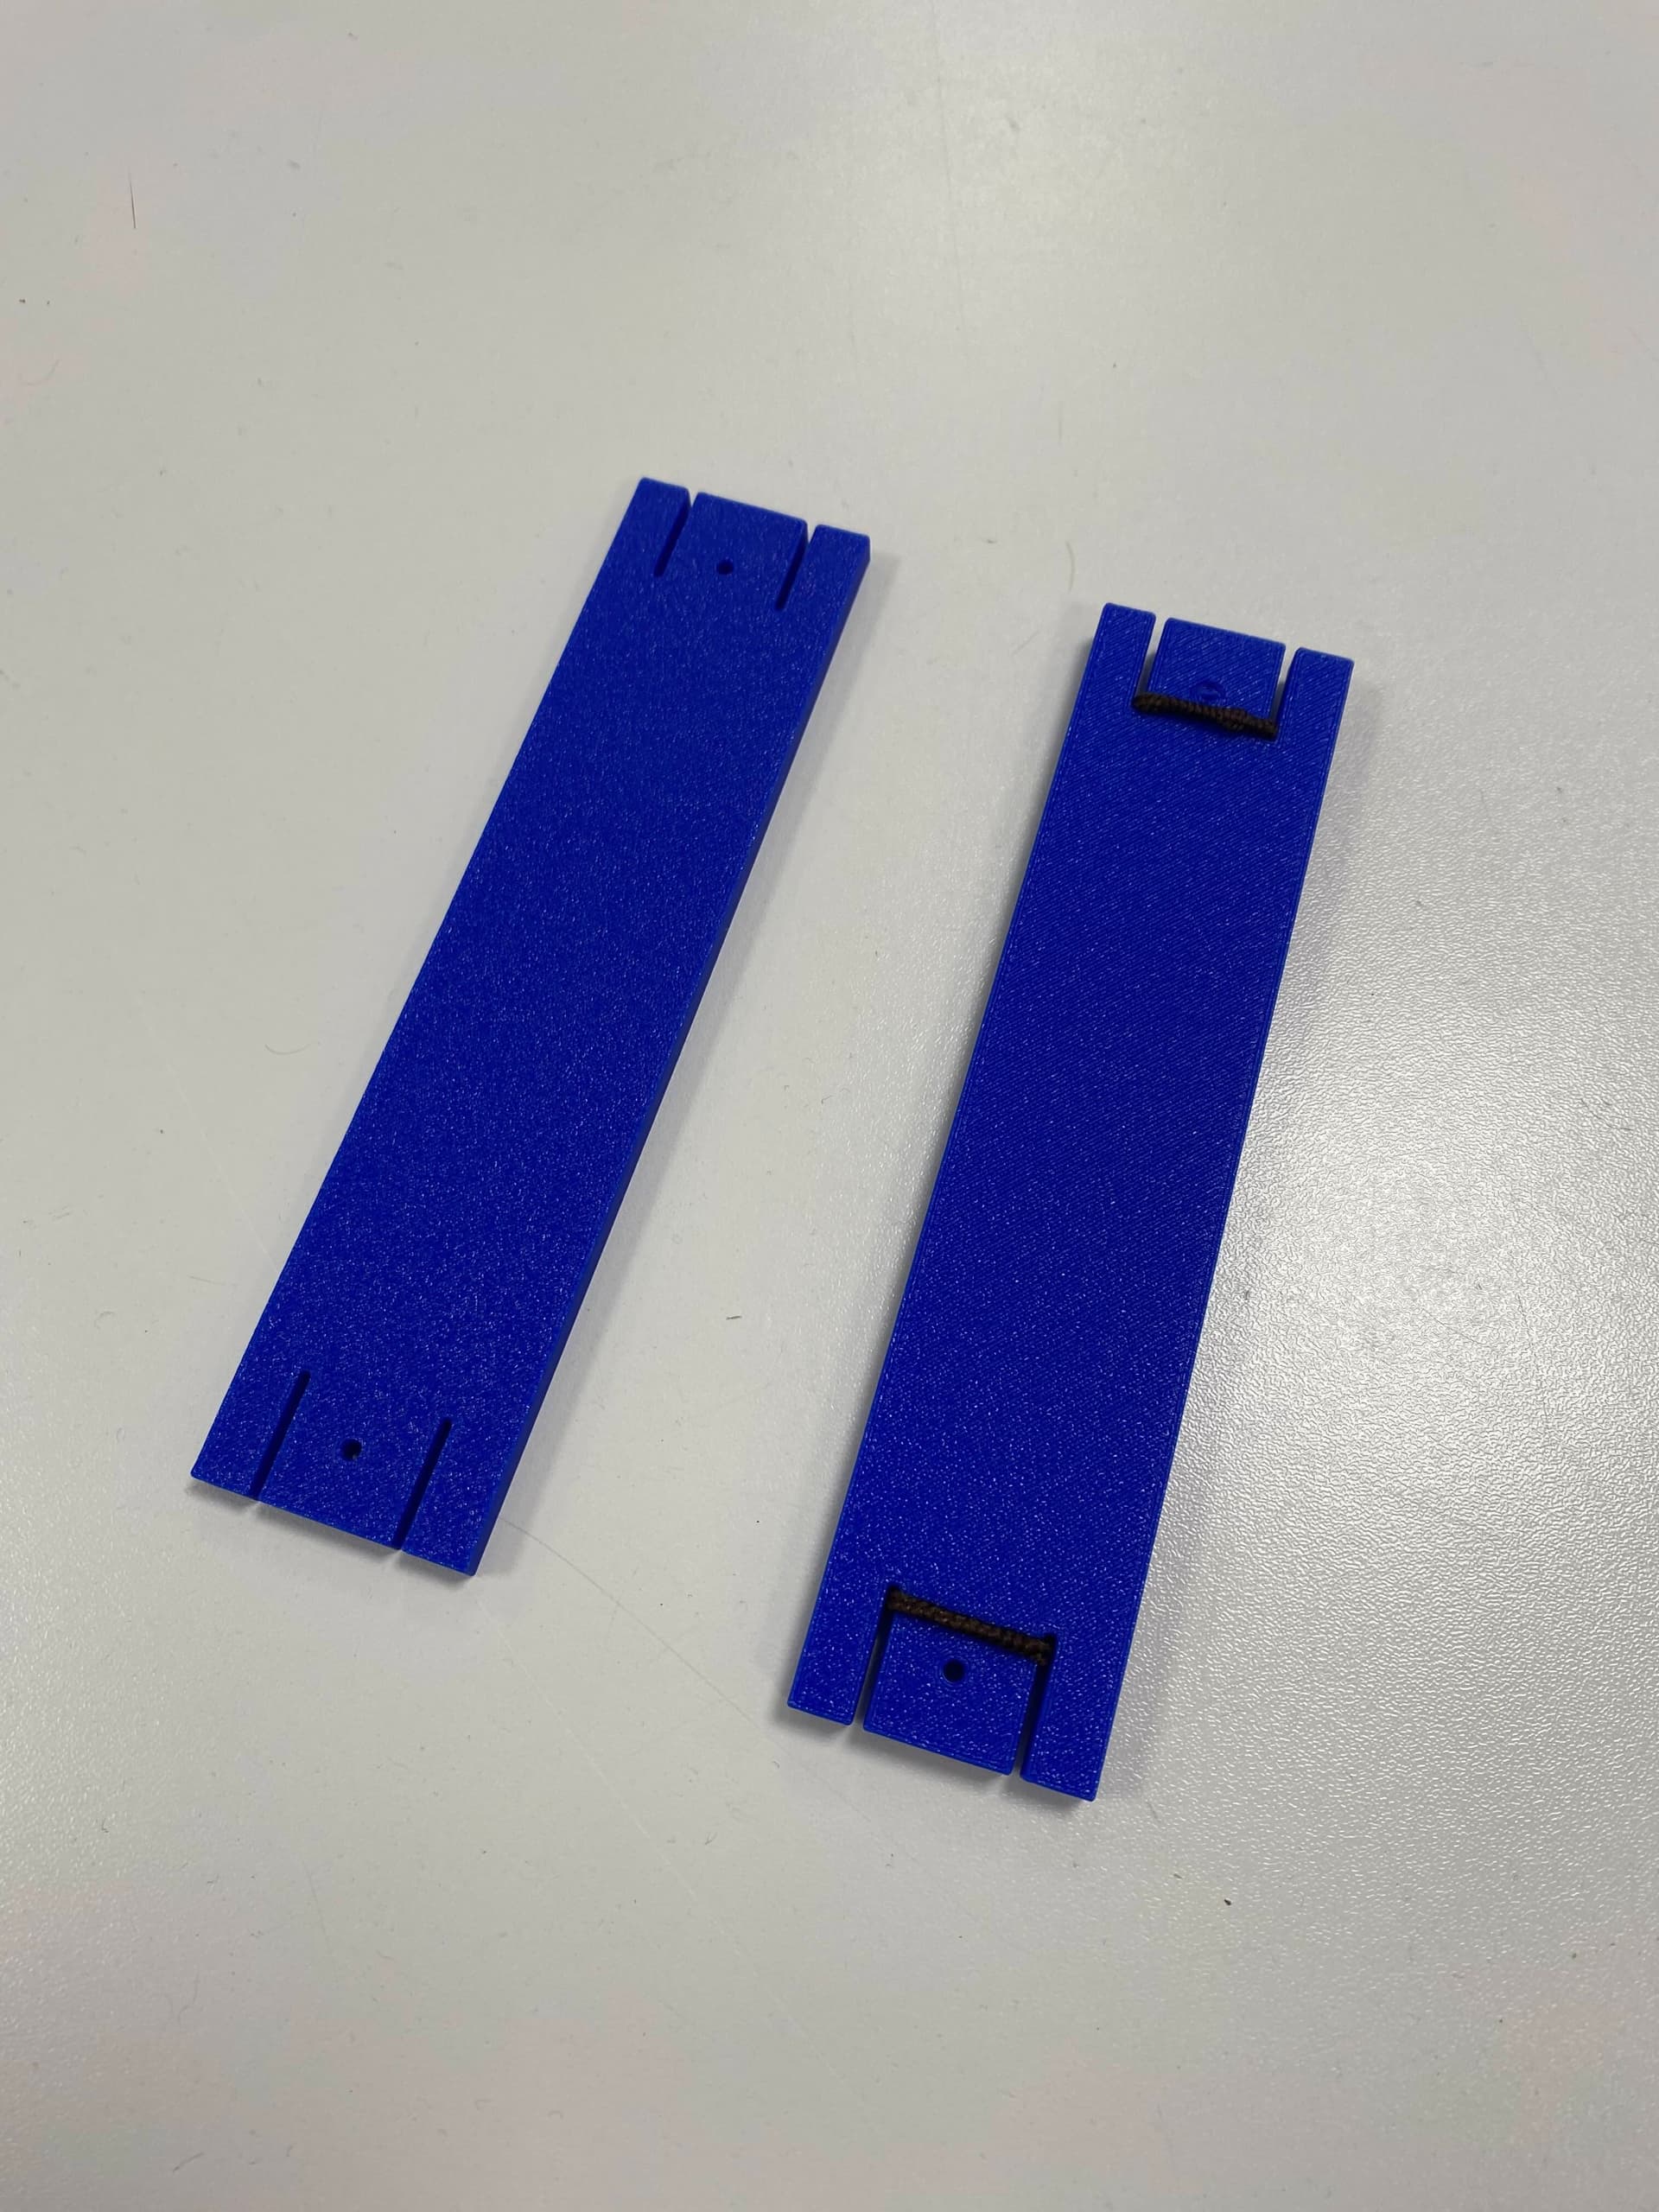
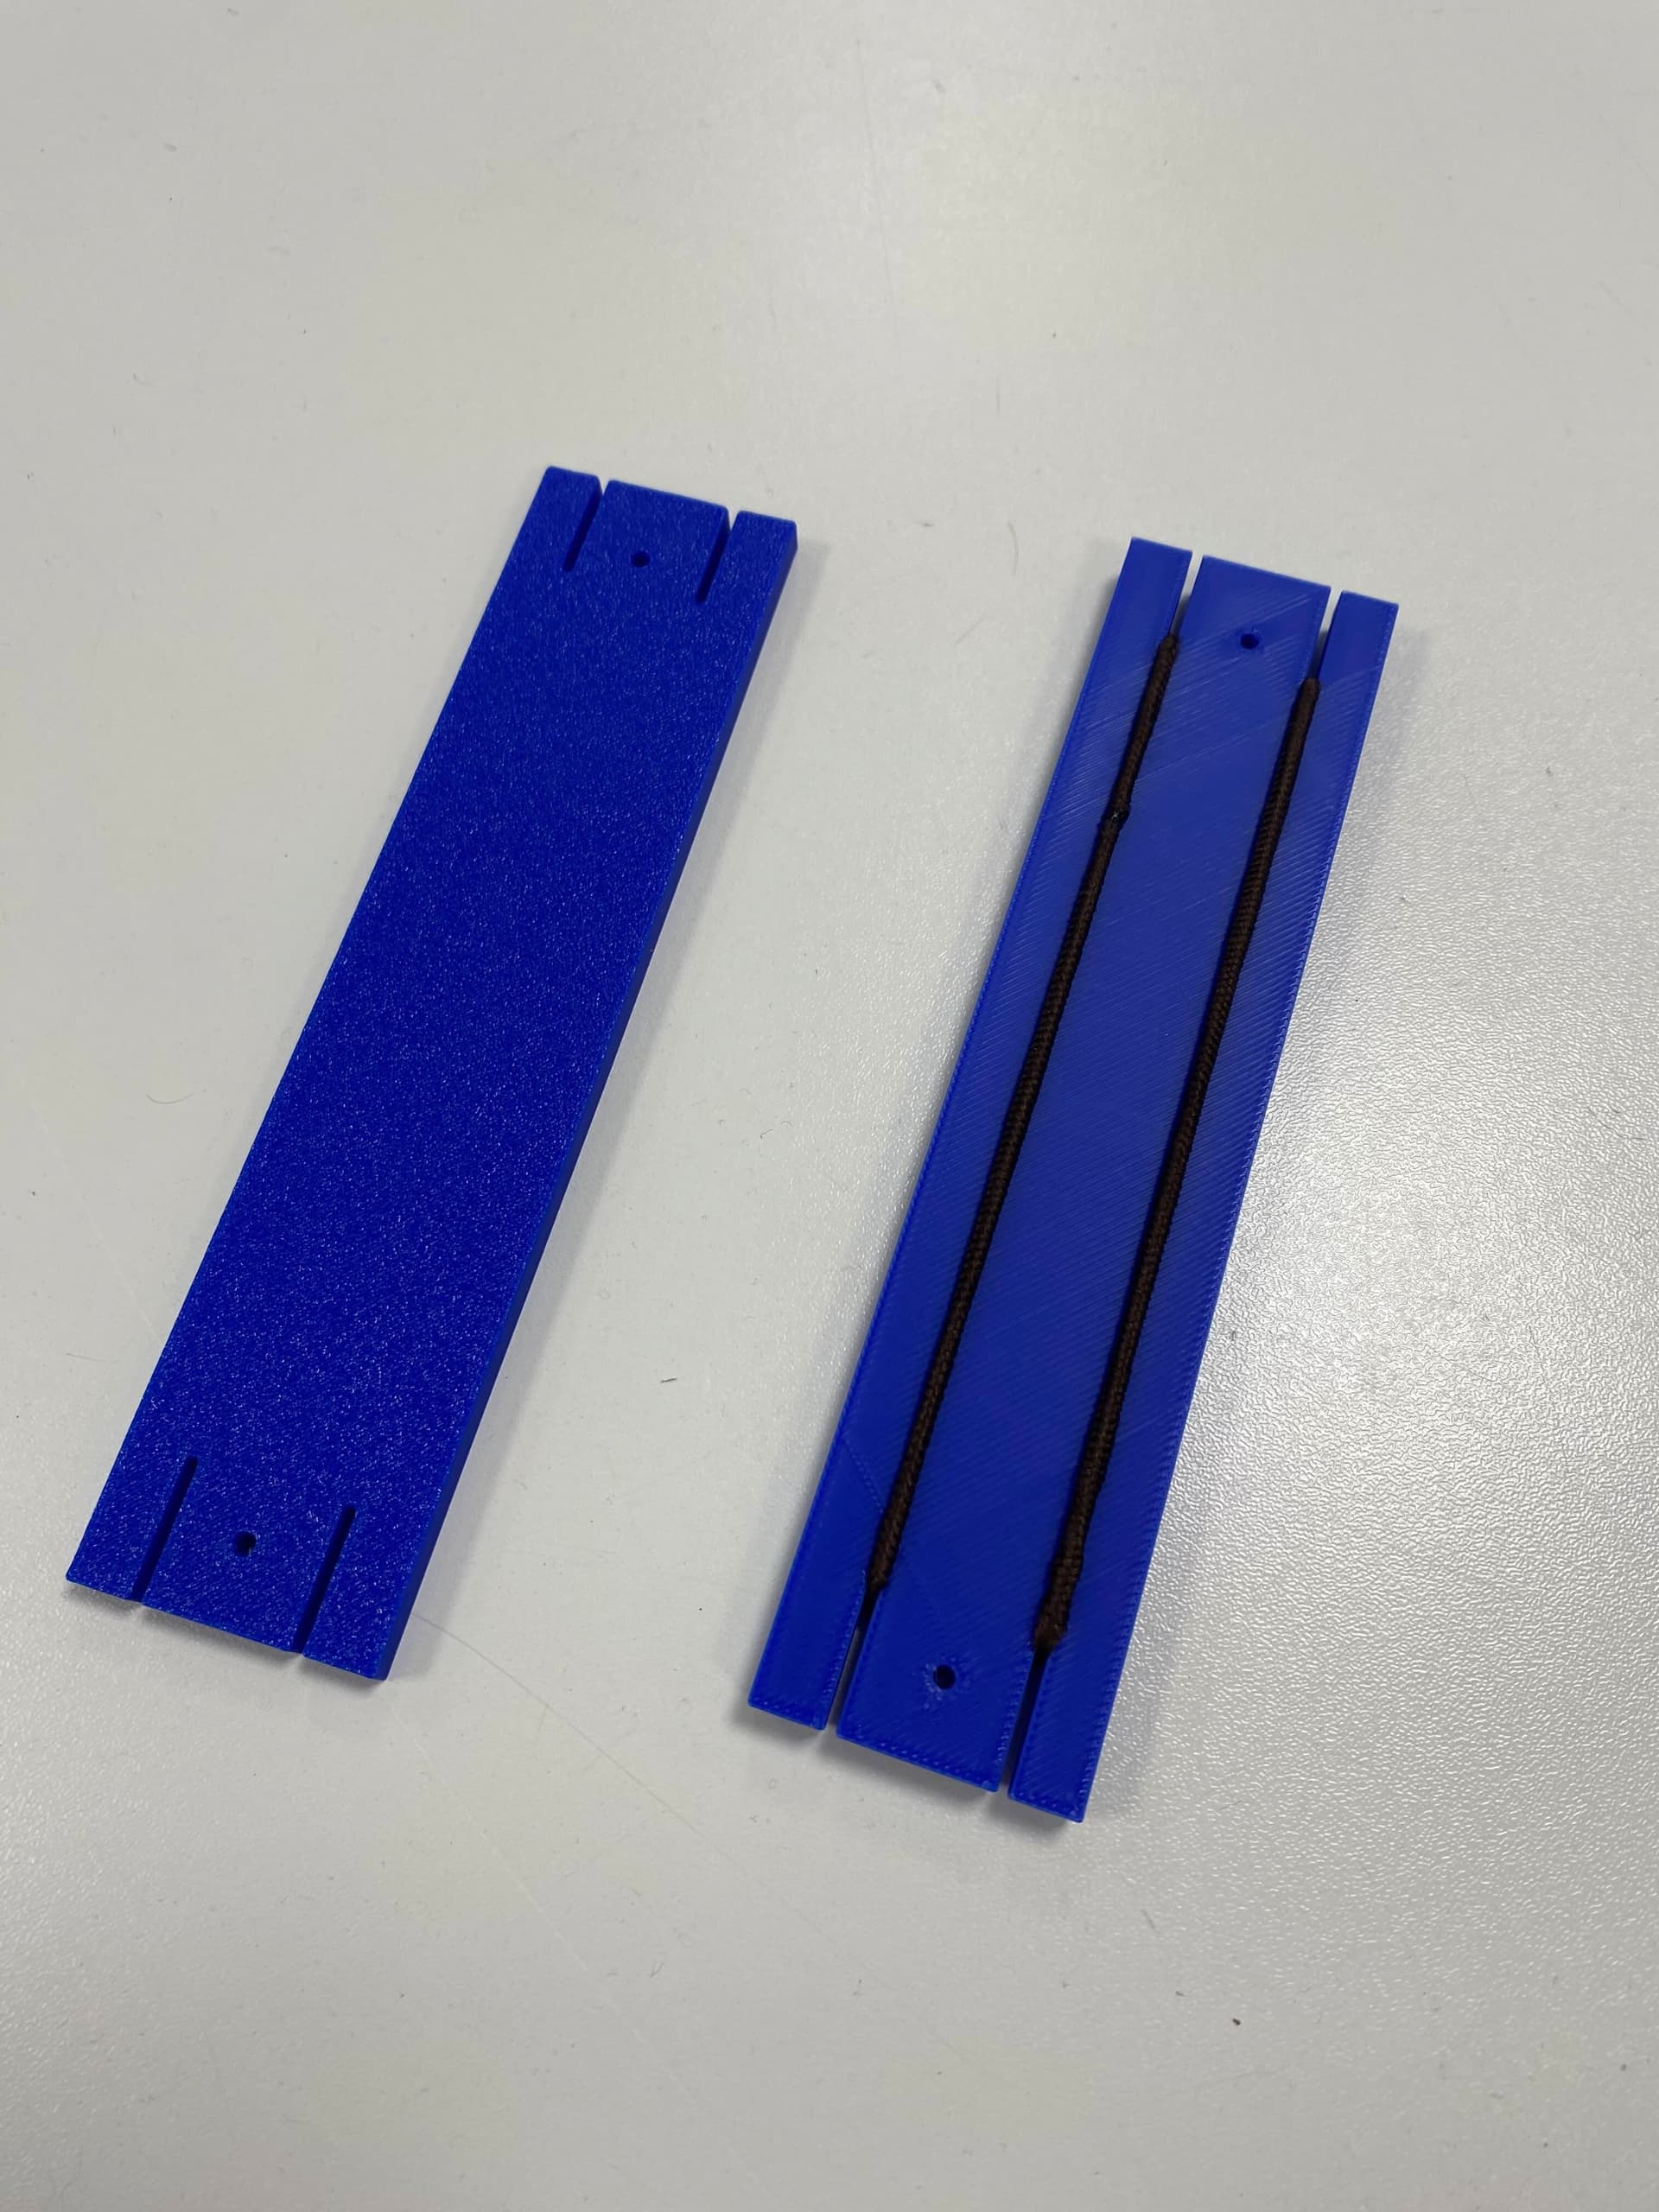
I make lace. (It takes all sorts…) With bobbin lace, you very quickly end up with many, many bobbins, some of which you may not be using for some period of time – and which, if left to dangle, are liable to get tangled/out of order and cause significant frustration. Hence today’s 3d-printer bobbin holders (with pin holes to affix them to the pillow, and hair ties to immobilise the bobbins. Hair ties proved easier than elastic thread – cheaper and no bulky knot on the underside). The holders keep the temporarily-unneeded bobbins safely to one side, in order, and away from the cat’s prying paws.
“Gosix” game
We cut a chunk of left-behind wood (was it part of a cutting board or a kitchen counter), burned the tracks into it, drilled holes with the drill press and inserted wooden pegs and we had the board for Gosix, an abstract strategy game.
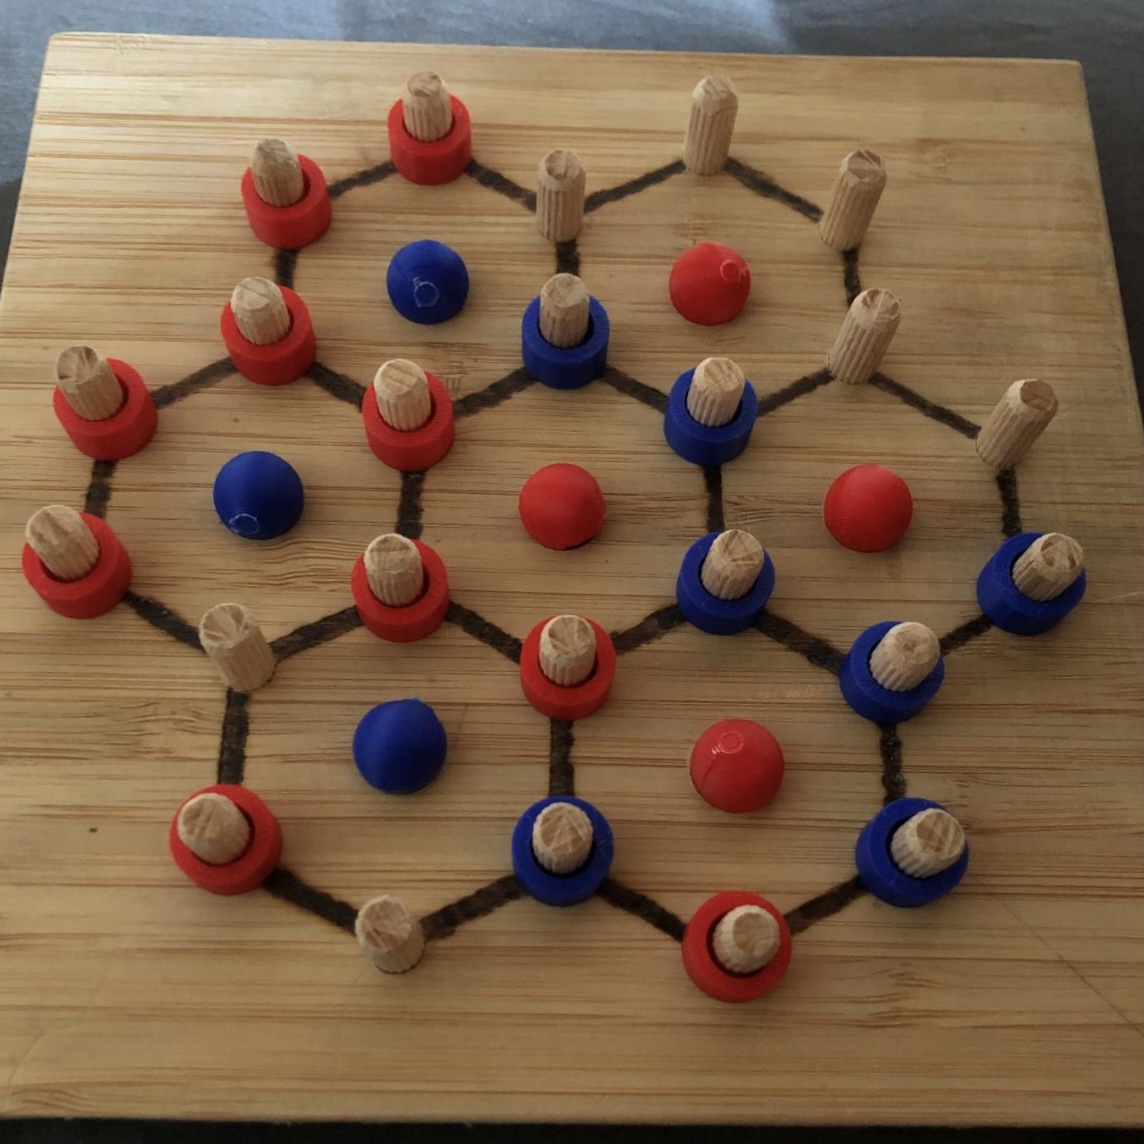
We then spent some time adjusting and printing coloured beads and spheres for the markers. Our younger child did much of the work on designing the beads, and adjusting the printing. (We have a consistent challenge that things we export from TinkerCAD as STL seem to need to be scaled up by about 20% to come out the right size when we print from the X1C.)
3 Likes

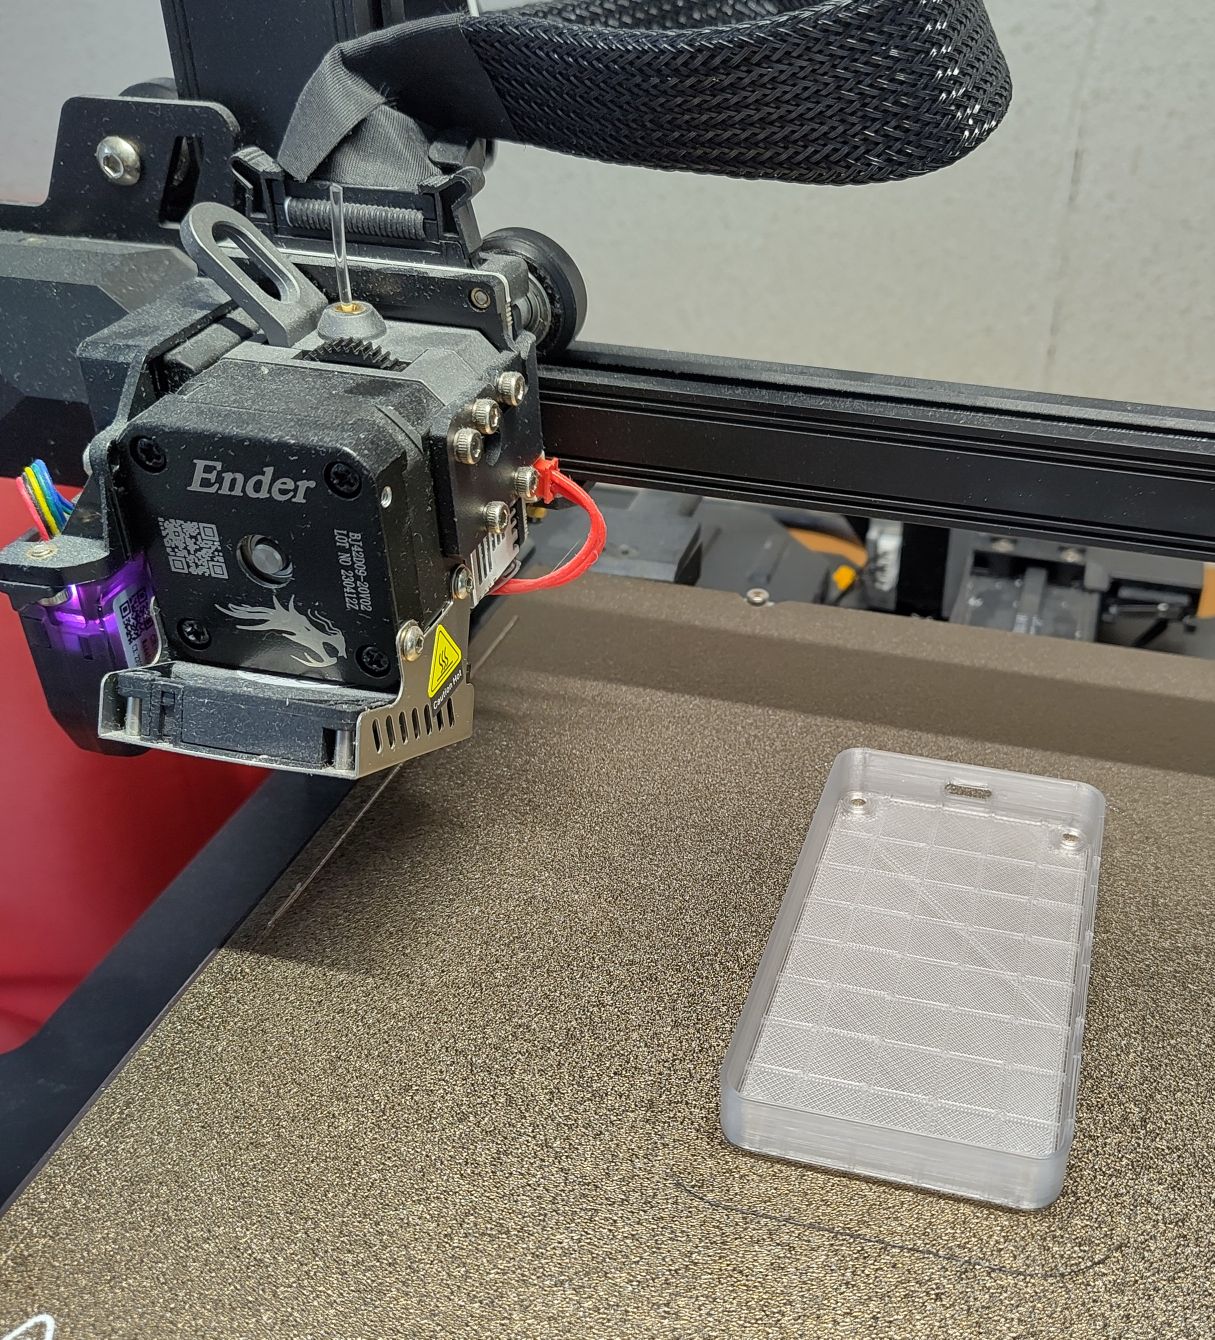
Ik heb een tafeldooscentreerding gemaakt en geprint.

3 Likes
Wat is daar het praktisch nut van?
Gok dat die dan wat minder wegschuift, maar weet het niet heel zeker….